Rag

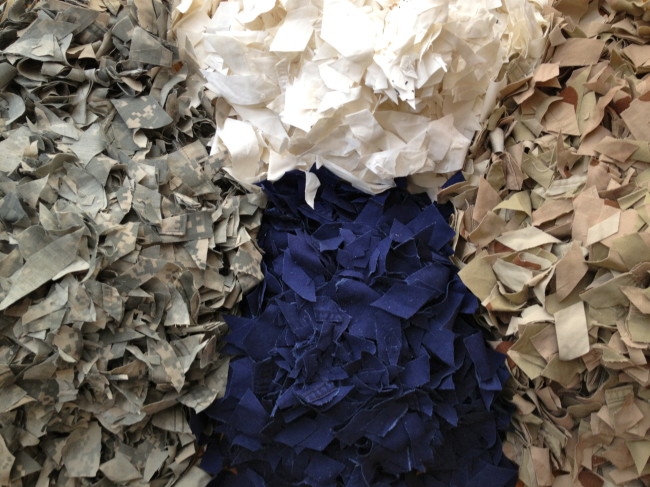
Cut up uniforms from all branches of the U.S. military, separated by color to maintain the color in the finished paper

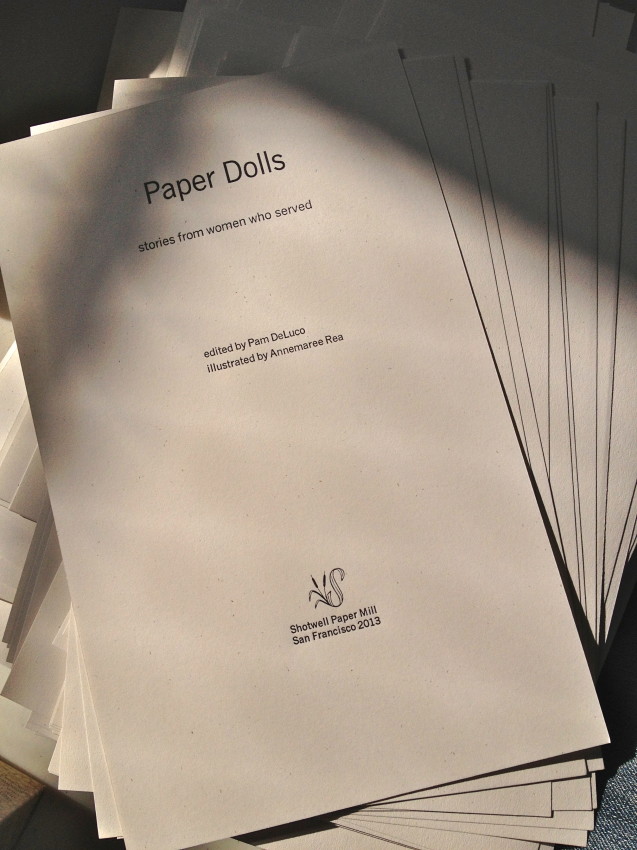
Our first book edition is a Paper Doll book in collaboration with women veterans.  The women sent us stories told through a part or parts of their military uniform and these items were printed on paper made from military uniforms.  But first we had to make the paper.
IMG_1253

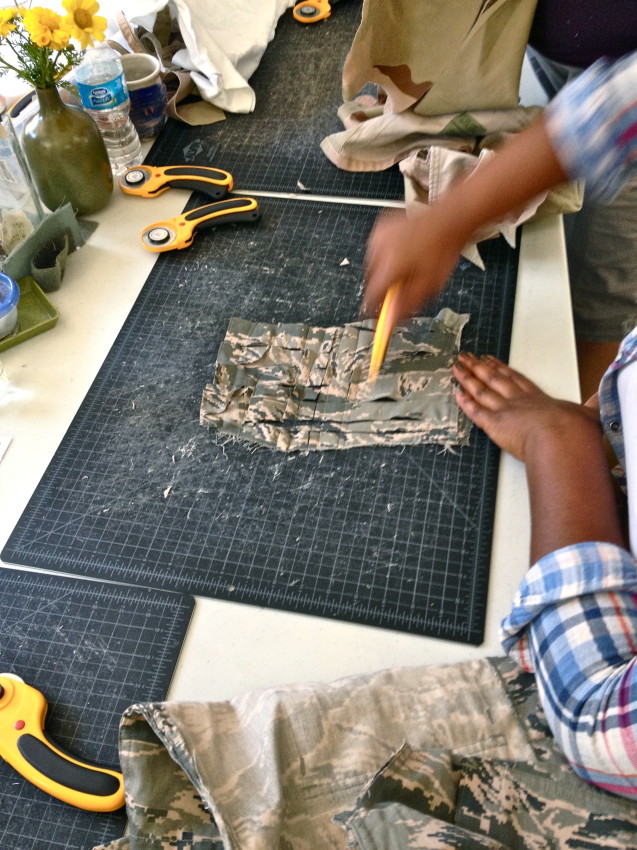
Contributor, Dottie Guy, works on deconstructing an Air Force uniform.

The first step in papermaking is to liberate the fiber. Many of the contributors donated their own uniforms to make the paper for the book. 
beater.Pulp

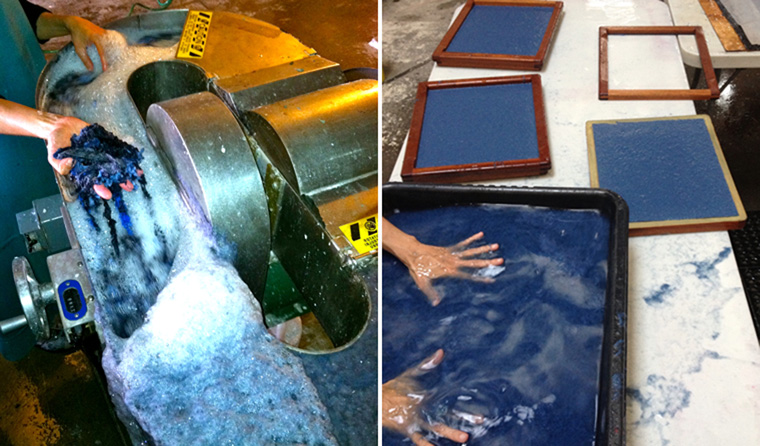
The cut up uniforms are put in a Hollander Beater along with water where they are broken down into a pulp.

This blue pulp came from a blend of Navy and U.S. Coast Guard uniforms.
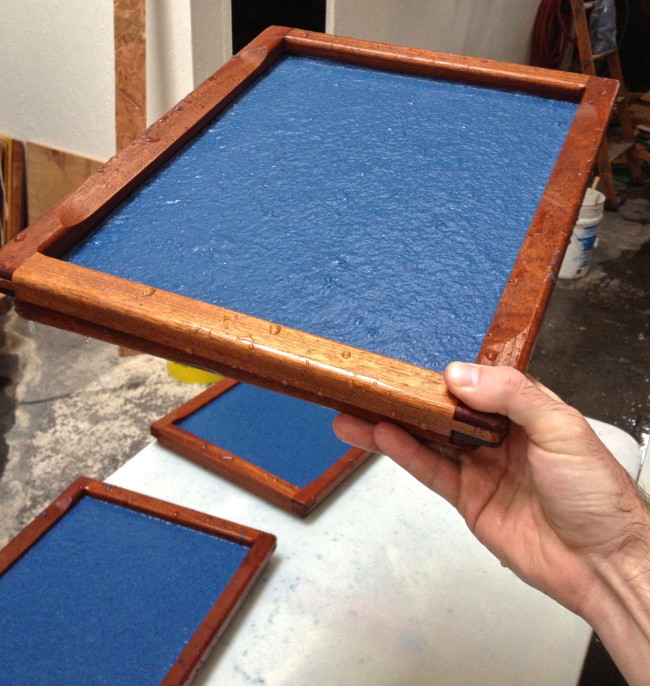
Image 11

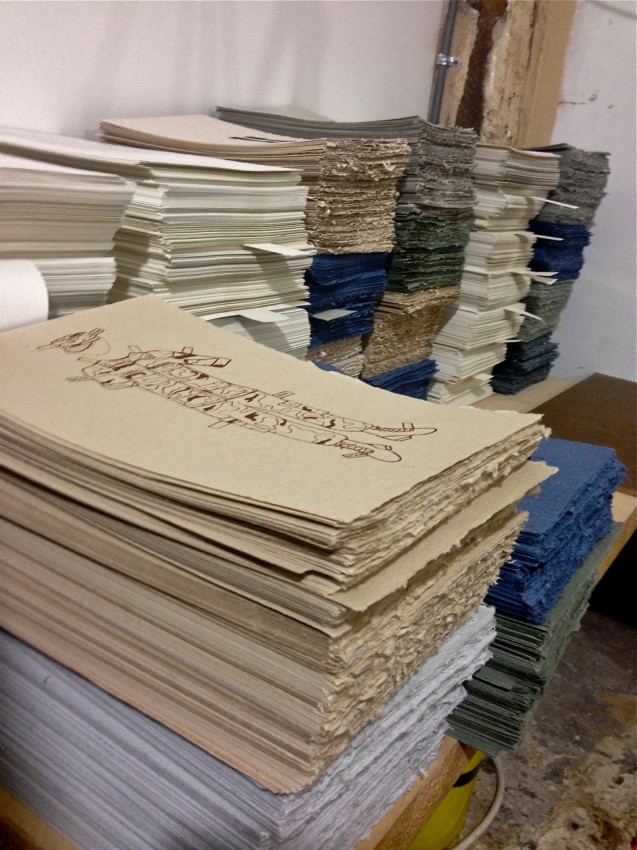
 Using a Mould and Deckle, the sheets are formed from the vat of pulp one at a time. In all, we needed over 6000 sheets for the book!
OKGo.pressing

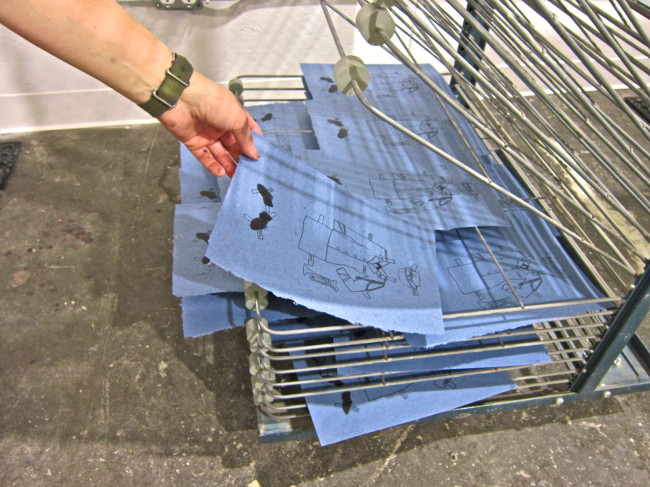
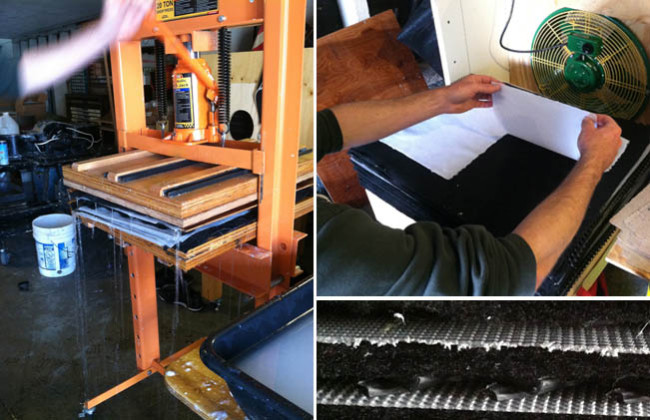
The stack of newly formed sheets are pressed under hydraulic pressure to remove most of the water. The damp sheets are then transferred to a restraint drying system (top right) which has a fan that pulls air through the channels (bottom right).  It takes about a day to dry the paper.
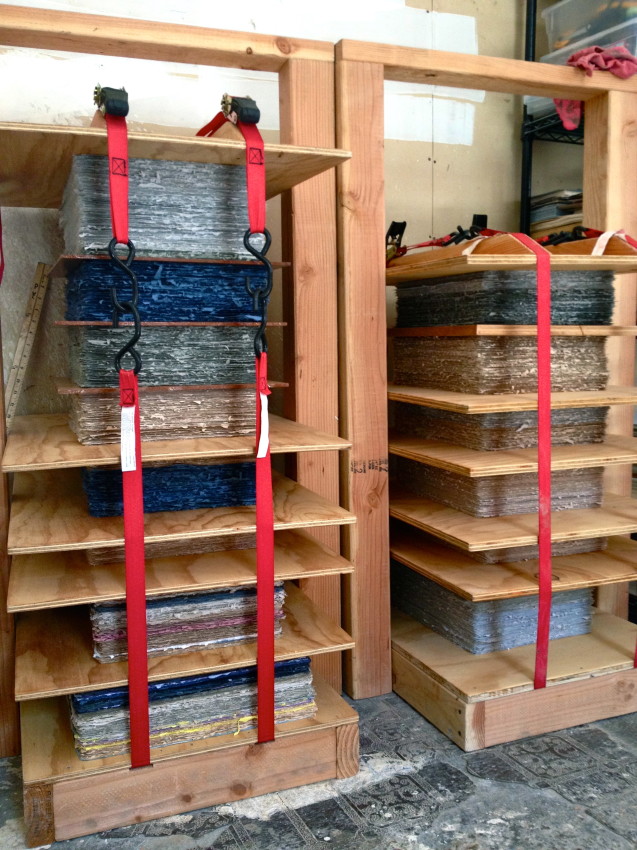
Image 35 The dry sheets are put in a standing press to cure.  The ratchet straps apply pressure to the stacks of paper which keeps them flat while they cure. We cure our paper for one week to one year or longer.
   

Mati

This is Mati, one of the contibutors who lives in Oregon.  She spent two weeks with us helping make the book.
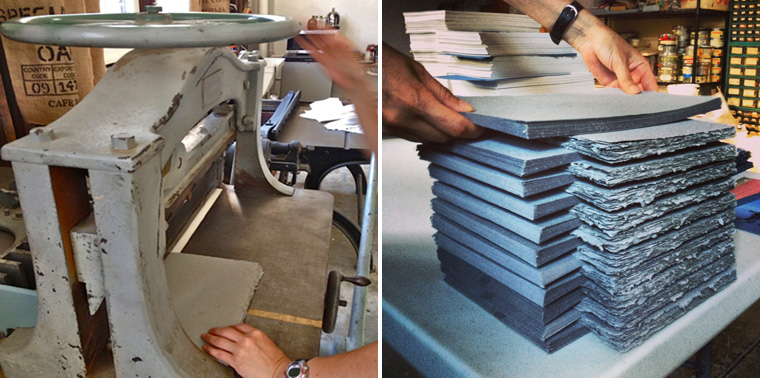
Mati.cutting

Left: Mati’s favorite task was cutting paper using our antique manual guillotine
Right: Mati’s neat stacks of cut paper are ready to be silkscreened.

Posted by: on October 28th, 2013

IMG_1419

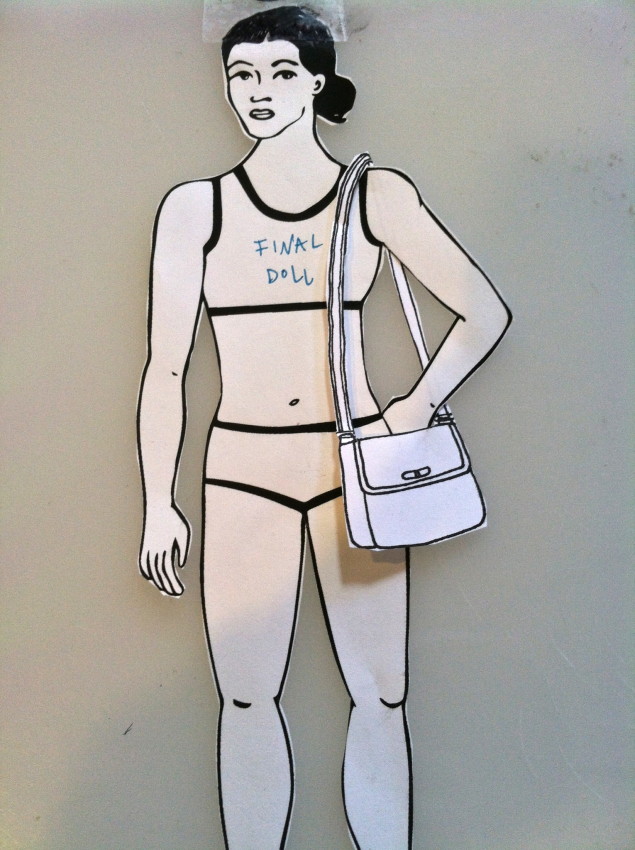
San Francisco illustrator Annemaree Rea crafted all the illustrations by hand–the old way, using pen and paper.  The doll went through many revisions before we settled on the one shown. Her body type and ethnicity is meant to be somewhat ‘neutral’–this was quite difficult to achieve in a simple line drawing.

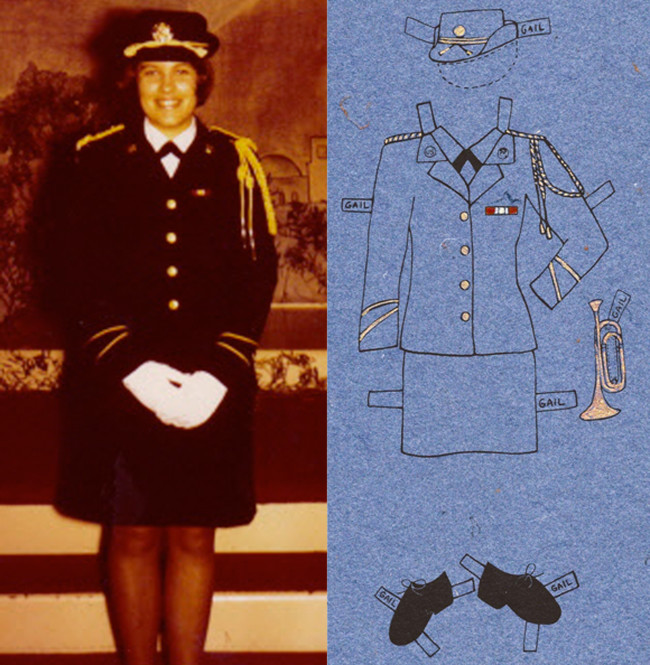
The women sent in photos of their uniform for Annemaree to draw. Everything was tried on the doll to ensure a proper fit.


IMG_1350

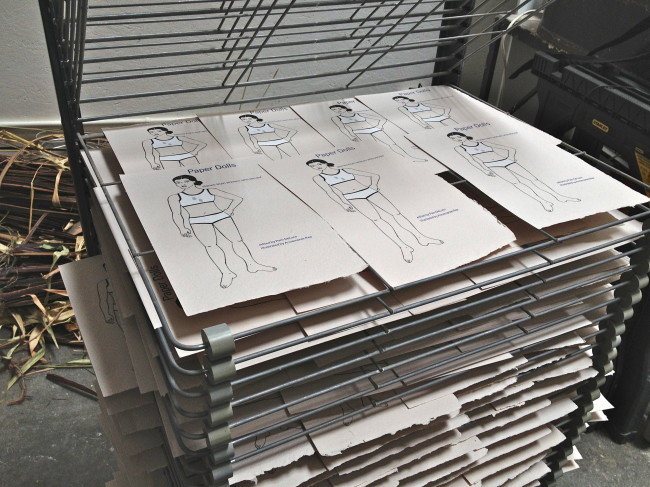
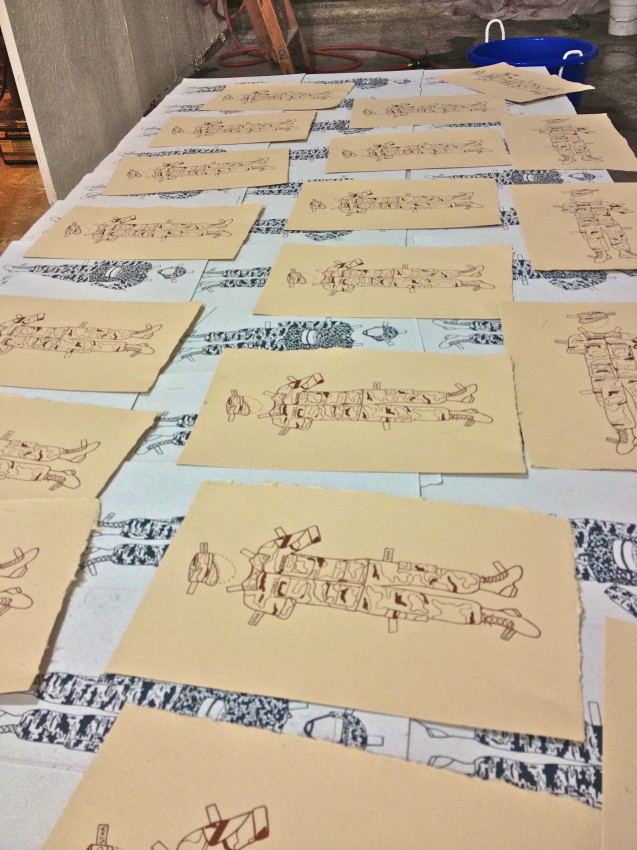
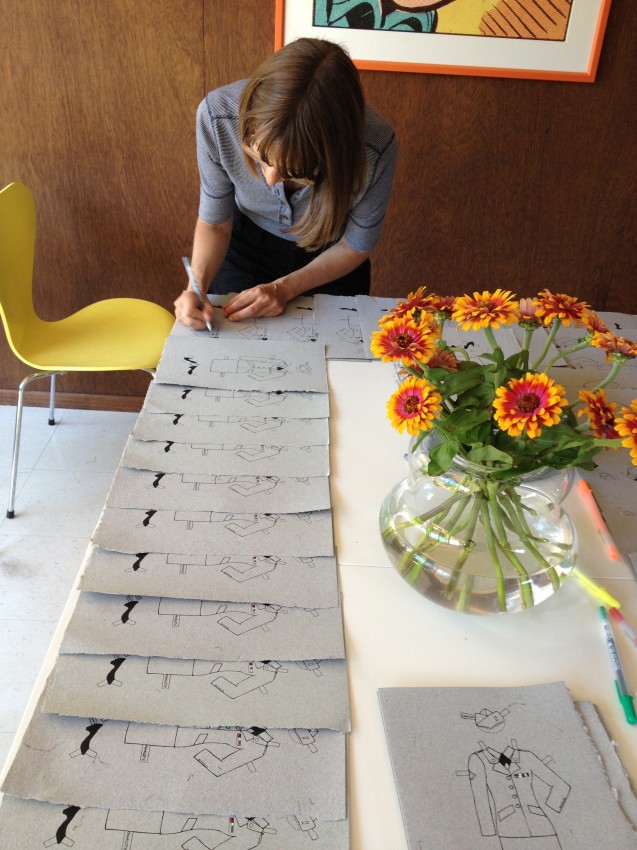
Screen printed covers stacked to dry. The cover had a total of four print runs–three silkscreen and one letterpress.

Image 9

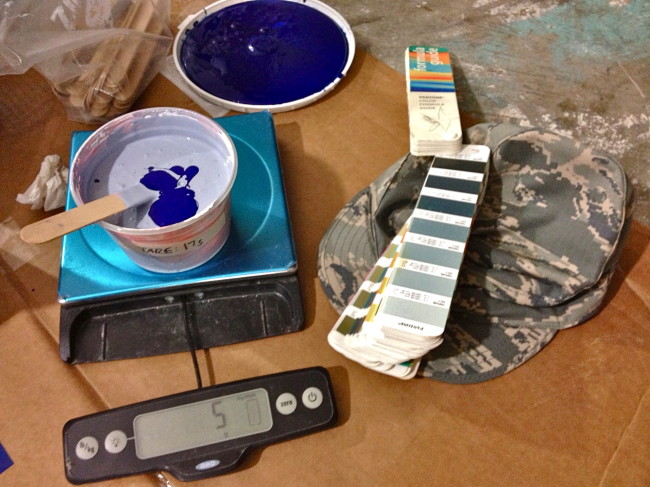
Mixing our inks with a Pantone chart allowed us to closely match the camouflage on the military uniforms. 


IMG_1452

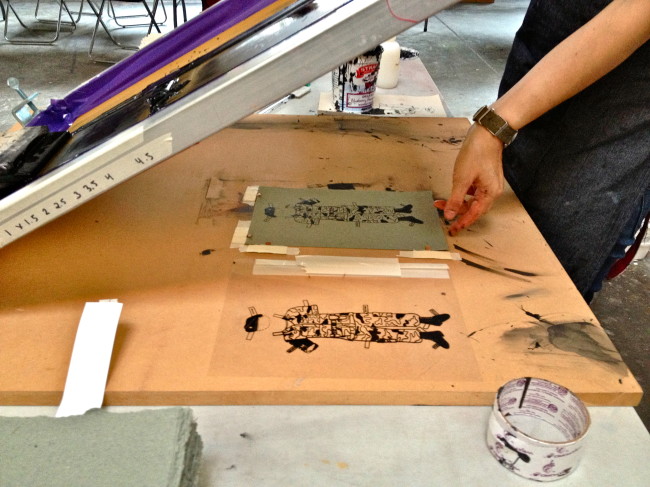
The various illustrations of the stories were oriented for placement before printing.

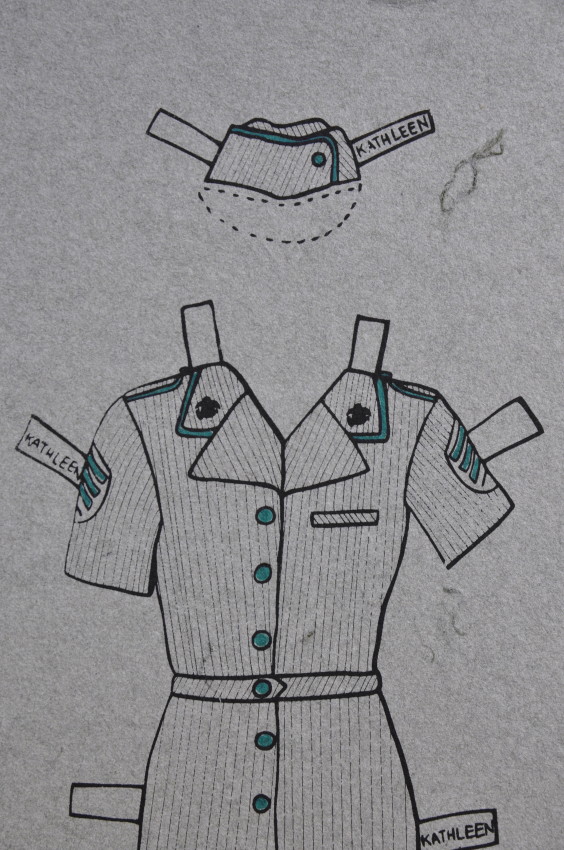
Kathleen Detail

This uniform had incredible detail in the pin stripes which made exposing the screen difficult.

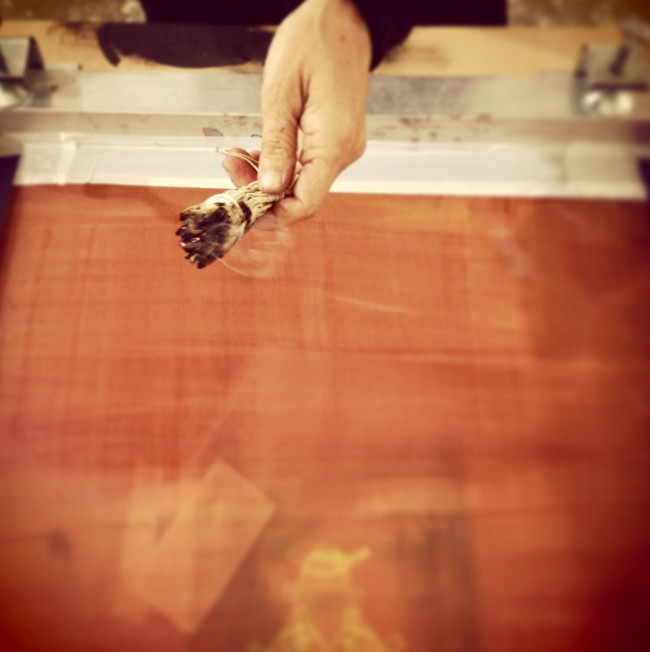
Image 26

Some creative methods were employed to assist a proper exposure needed to pick up all of the tiny details.

IMG_0822

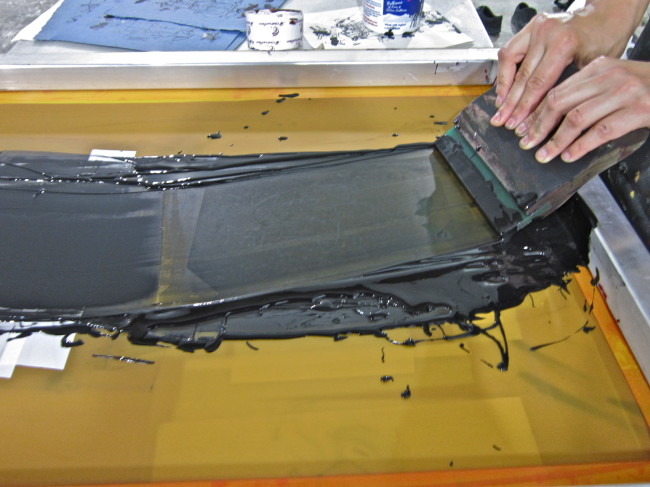
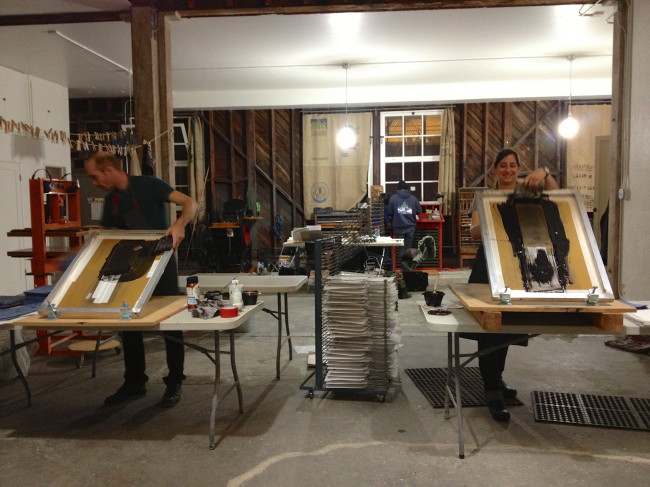
Expert printer, Defne Beyce, uses a squeegee to force ink through an exposed silkscreen, rendering the images one at a time.

IMG_1448

Every color of paper and image of a uniform was closely matched to represent each as accurately as possible.

IMG_0824

Everything from Blue Dress uniforms…  

IMG_1455

…to Desert Camouflage and Airman Battle Uniforms were printed.

IMG_1501

Drew and Defne working late into the evening–or is it almost morning?  

Image 23

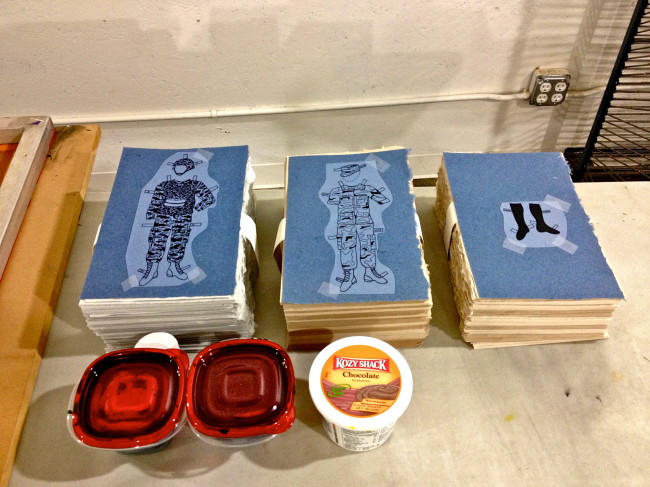
Twenty separate uniforms were printed to illuminate these veteran’s stories.

Image 1

Subtleties like rank insignia and award ribbons were hand detailed.

Gail

A completed image of Gail shown next to the photo she sent us.

Posted by: on October 29th, 2013

IMG_1346

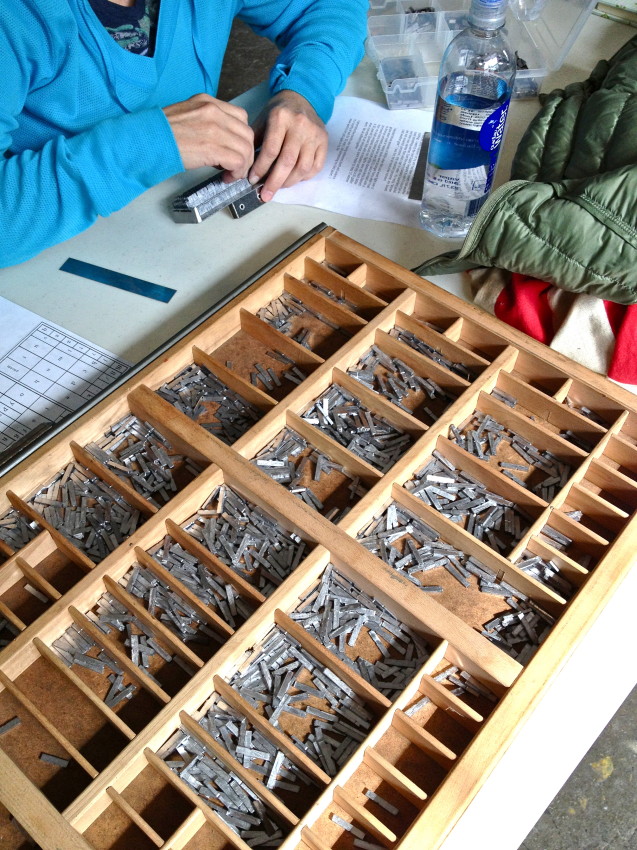
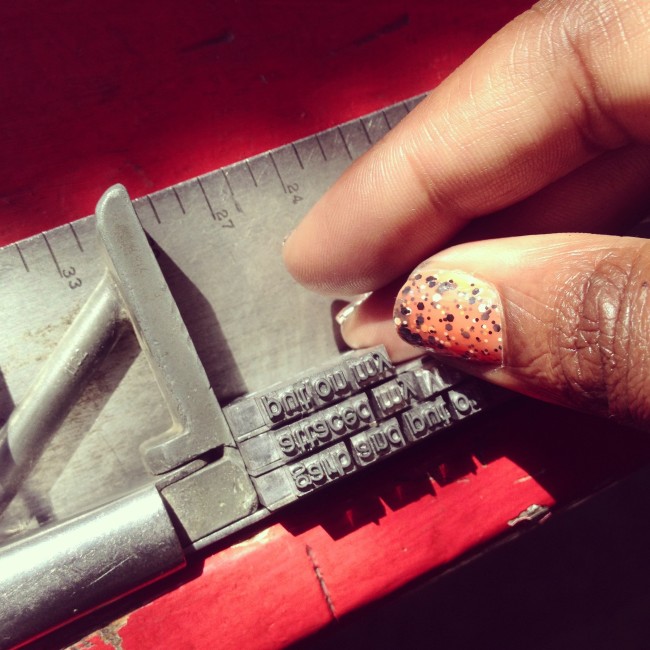
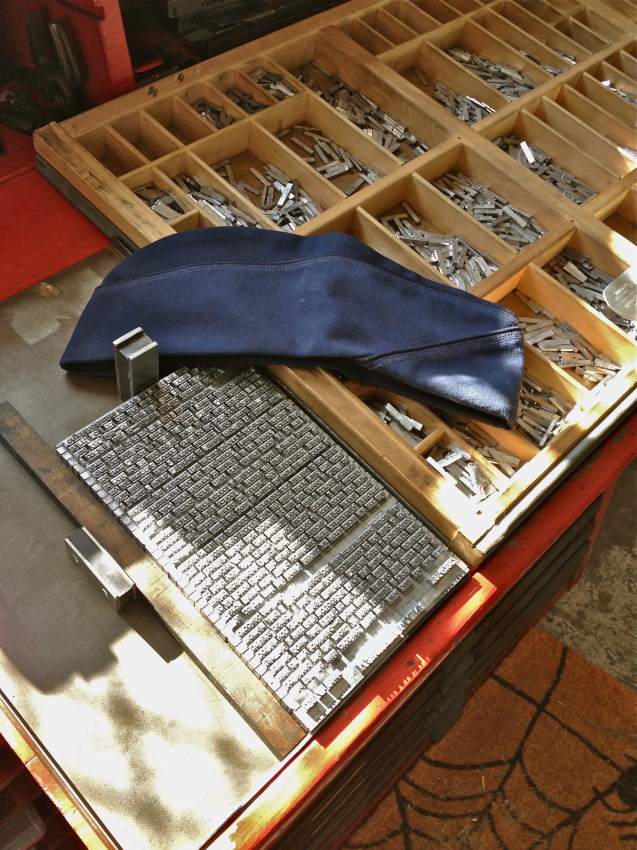
Typesetting uses individual letters and spacing made of lead to construct the paragraphs which are then printed with a letterpress. The inked letters press into the paper leaving the printed image behind. This method is full of rich tradition and craft.

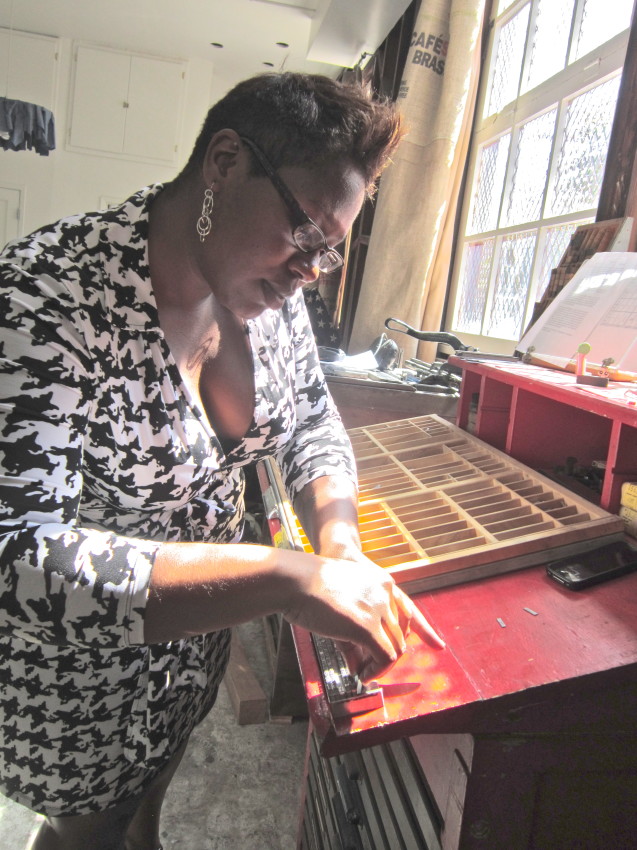
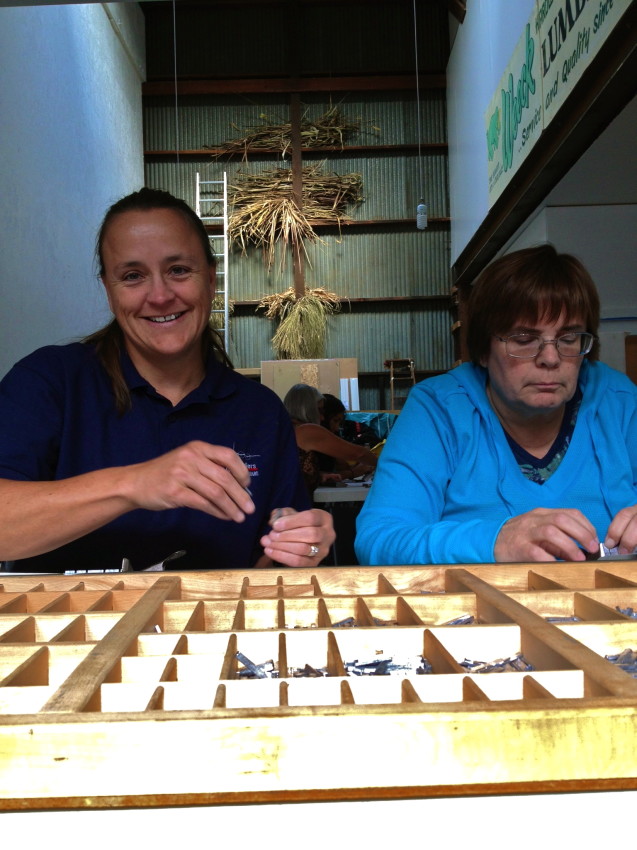
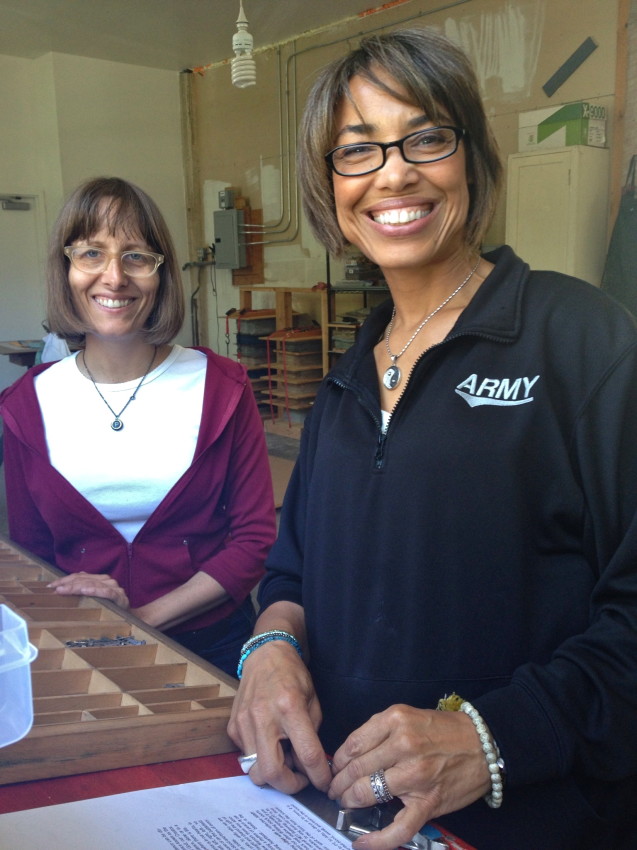
IMG_1399

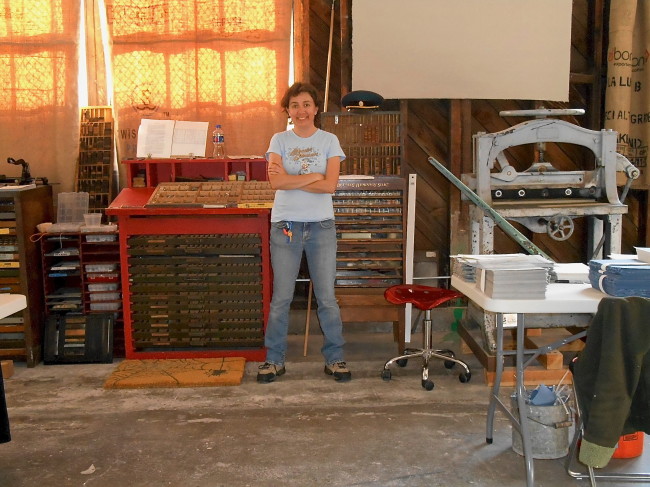
More than half of the authors came and set their own type. None had done it before so they needed to use a diagram to find the letters. 

Image

photo courtesy Dottie Guy

 The letters are placed in the composing stick (shown) upside down and backwards.  Definitely a tedious task.

Image 27

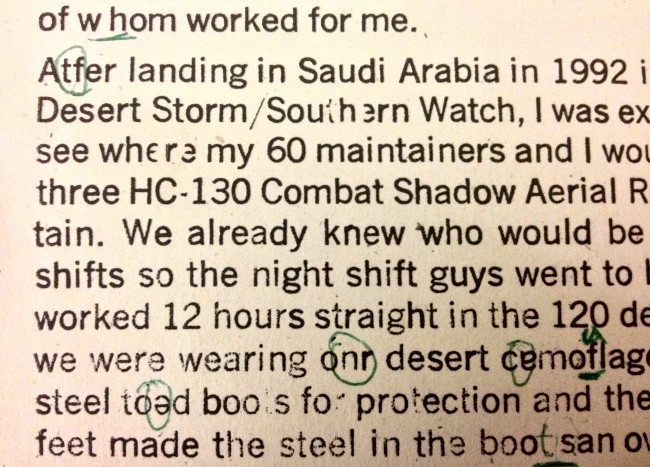
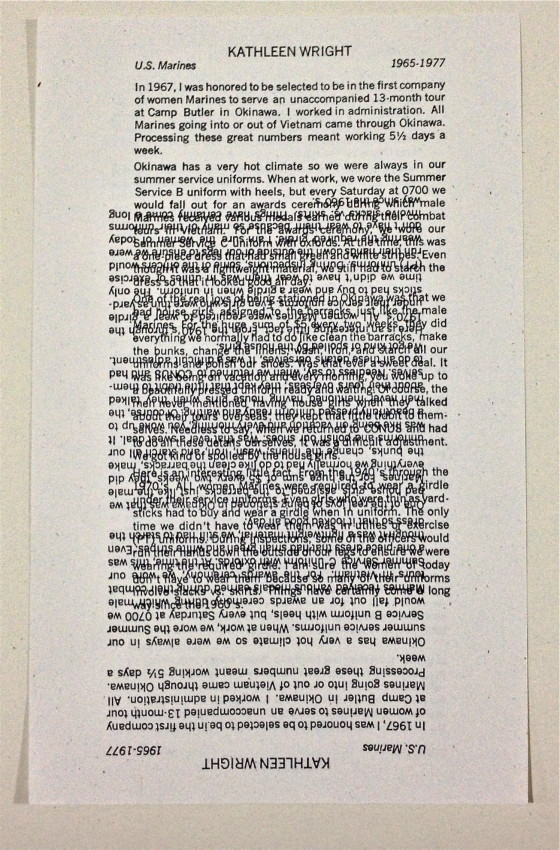
Careful proofing is needed as letters, spacing, even entire sentences can find themselves way out of place.

Image 28

Intricacies and finesse are needed for just the right amount of impression, ink, margin and correct placement. 

Image 18

Riza and Habib were our typesetters from Diablo Valley Community College. They came every week to set type.

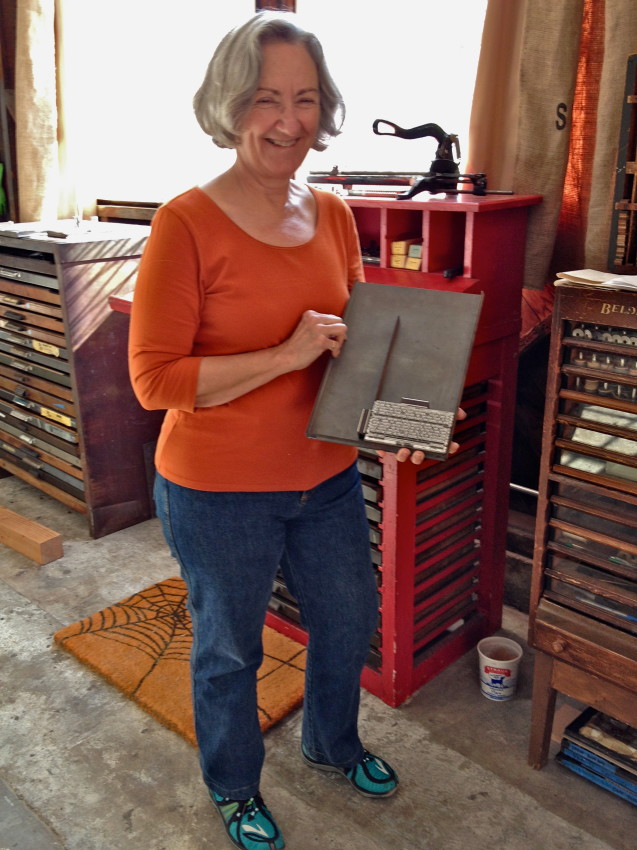
Image 3

Margarita’s (U.S. Air Force) story ready to be printed, along with the item of her Air Force uniform that inspired her story.

IMG_0832

Dottie (U.S. Army) working through her story. She set her whole story in about five hours. Way to go Dottie!

Image 12

Jo (U.S. Air Force) and Luana (U.S. Army) came for several days all the way from Nevada!

Image 21

Pam and Michele (U.S. Army) collaborating.

IMG_1243

Susanne (U.S. Air Force) proudly displaying her completed page. She was our first typesetter.

Image 5

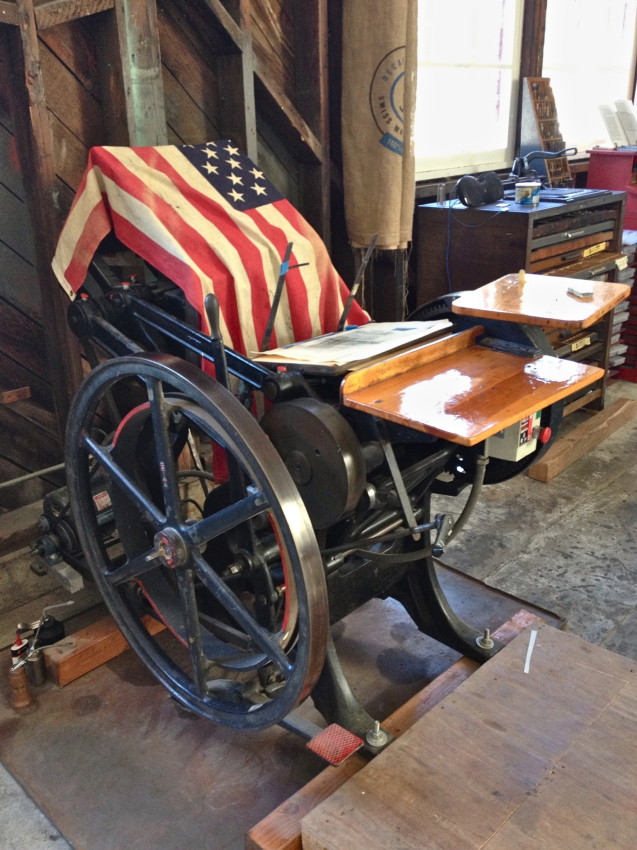
This is our letterpress. A 10 x 15 hand-fed Kluge.

Printing

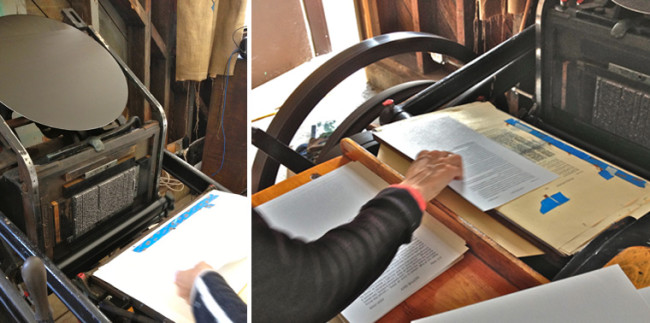
Left: the ink is on the disk.  The rollers pick it up and then pass over the type which then presses into the paper.
Right: Pam hand-feeds the press. Over 6500 pages were printed one-by-one for the book.

Posted by: on October 30th, 2013