CacaoBeanPaper

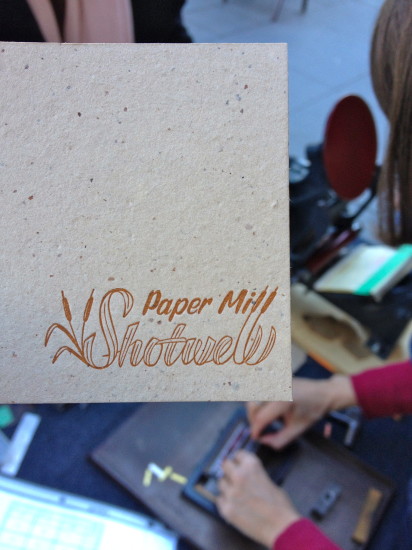
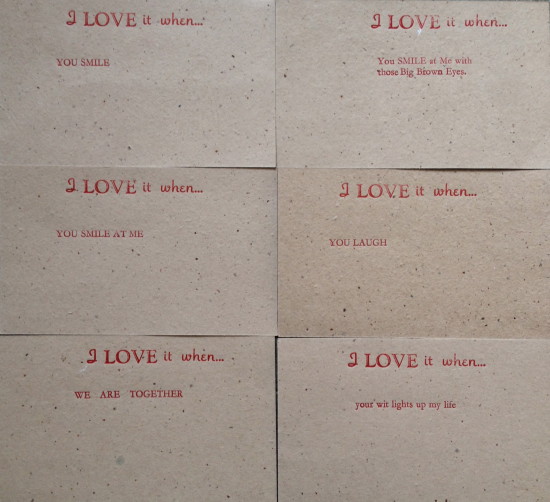
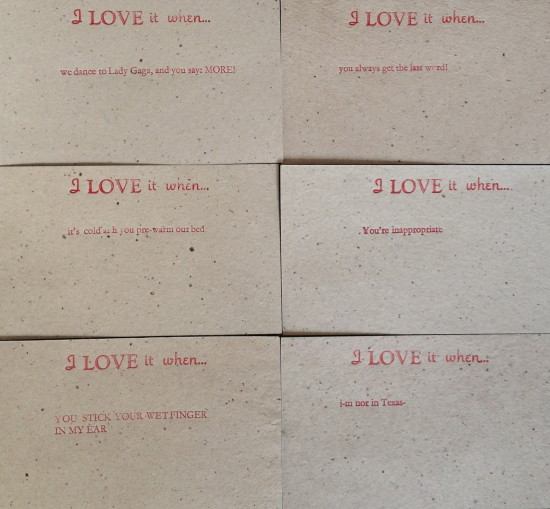
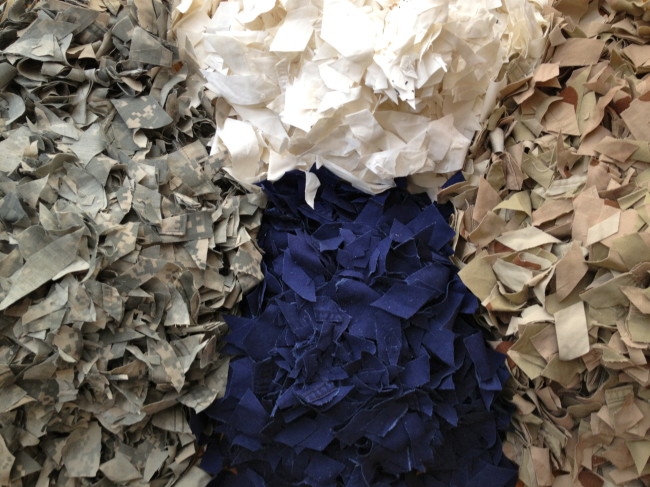
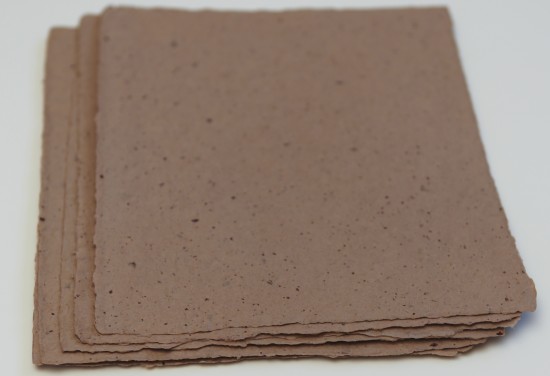
Jute paper from cacao sacks. The flecks are bits of cacao husks added when processing the paper pulp

bikingwsacks

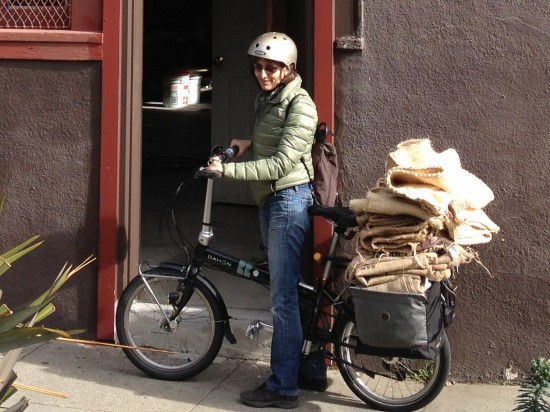
Pam returning to the studio with a bike load of jute sacks. They are heavier than they look!

Cacao beans are shipped in jute sacks. The sacks are not reusable to the chocolate maker but they can be repurposed into many things including paper. We are fortunate to have a bean-to-bar chocolate maker in our neighborhood and they provide us with a steady supply of sacks.


Cacao.Seams.Cutting
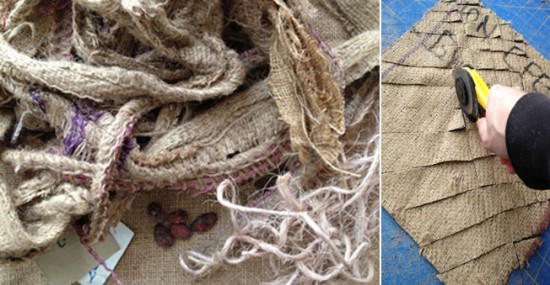
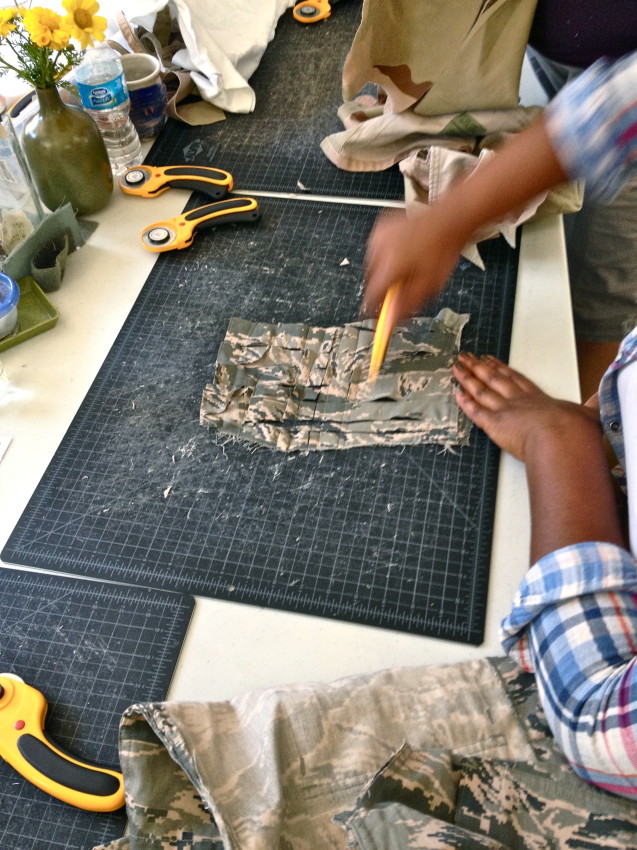
Left: the first step is to shake out all the cacao beans, remove the paper tags and twine, and cut out the seams. All these items can damage the beater.

Right: next step is to cut the sacks into small squares. Because cacao beans are fermented the sacks have a pungent odor. Alice at Dandelion thinks they smell like vinegar but I think they smell like feet.

CookingCacao

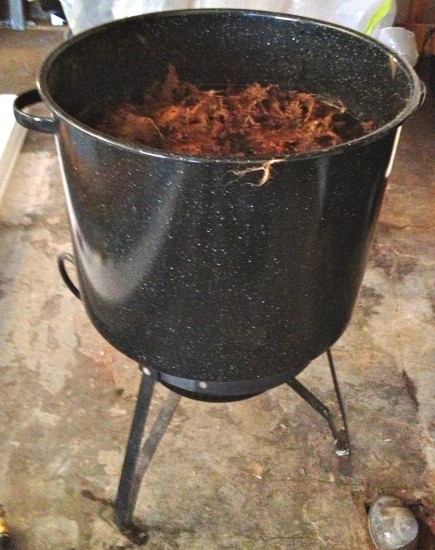
The sacks are made of jute fiber and contain a lot of lignins. Lignins are organic compounds found in the cell walls of many plants. They provide strength to the plant but weaken paper and therefore must be removed. 


Lignins dissolve in an alkaline solution and heat speeds up the process. Washing soda, soda ash, or lye are all acceptable choices. The fiber must simmer for 2-4 hours. 


The fiber pot starts out with a Ph of 10-11. As the fiber cooks the alkaline consumes the lignins and by the end of the cycle the Ph is closer to neutral.

The plant beds outside our studio are the perfect place to rinse fiber. The rinse water is not wasted and our plants appreciate the attention.


rinsing.cacao


Cacao.Pulp,1
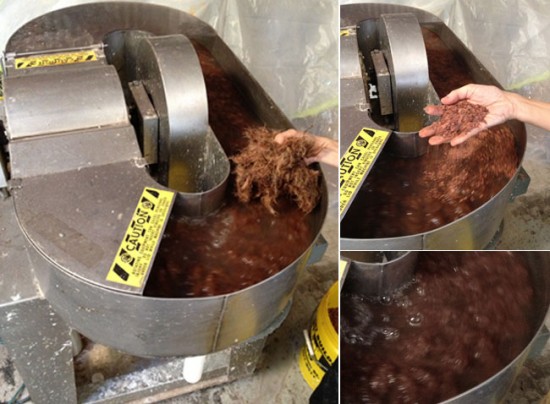
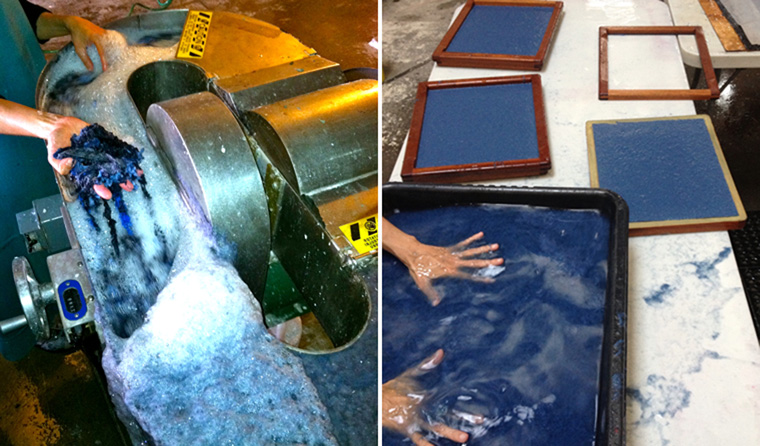
Left: the cooked fiber is put into a machine called a hollander beater. The beater has a paddle-wheel (called a roll) with a series of thin metal bars. Underneath the roll are more metal bars (called the bed plate). The roll and bed plate work together to beat the fiber into pulp.

Top right: a handful of cacao husks is added to the beater. This will add flecks to the finished paper and give it a more chocolaty look. The husks smell delicious!

Bottom right: the fiber beats down into pulp in about 20-30 minutes. 

Cacao.Pulp.2

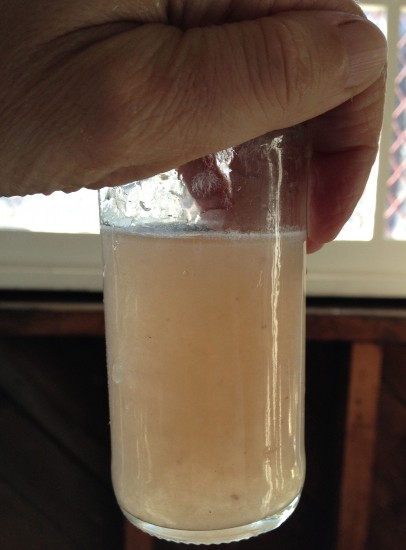
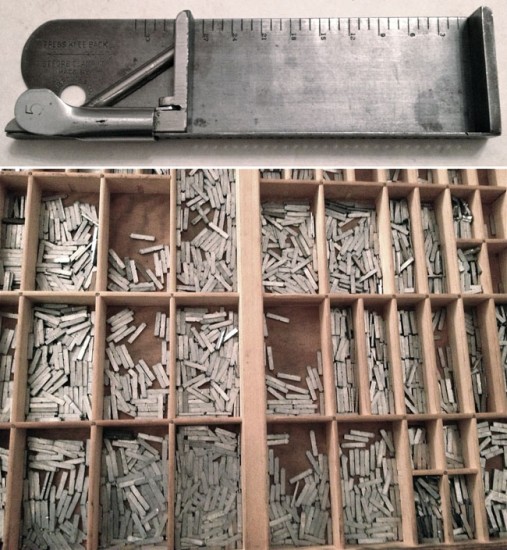
The final test is to put a bit of the pulp in a jar and add some water. Shaking the jar and holding it up to the light shows if there are any clumps or long fibers. The flecks you see are the bits of the cacao husk–the rest is the finely beaten jute.


At this point we can add sizing. Since we plan to use this paper for letterpress we are not going to size it. This is one advantage of being a papermaker–we can tailor the paper to specifically meet our needs.


Cacao.Pulp.3
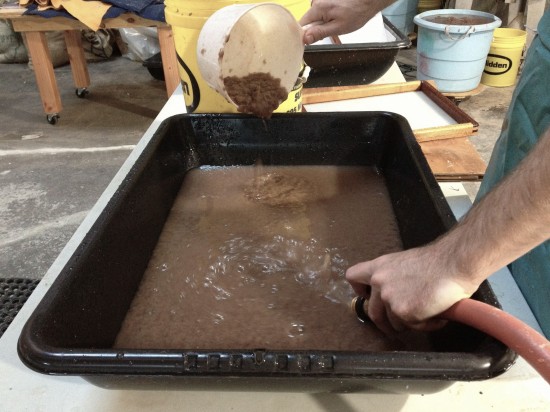
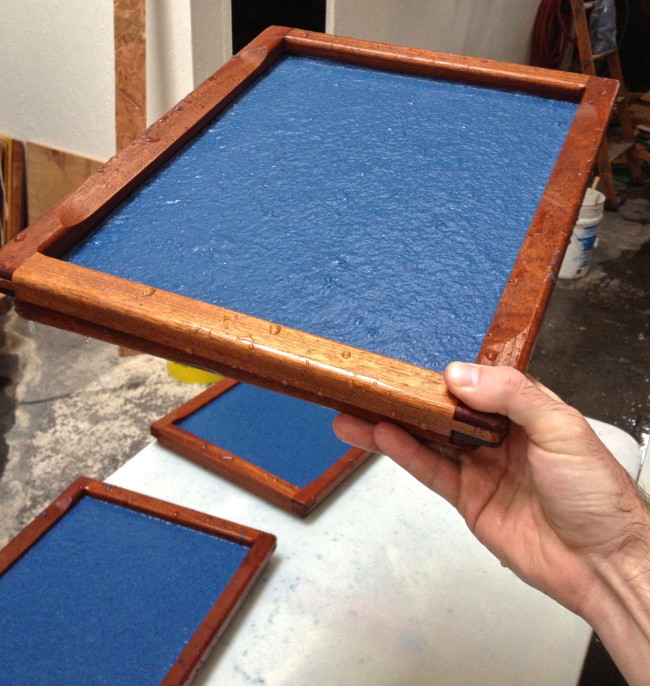
The pulp is poured into a vat and water is added to create a thick slurry. The density of the slurry is what determines the thickness of the sheets. We are aiming for card stock so we’ll want a fairly dense slurry.

Cacao.Pulp.4
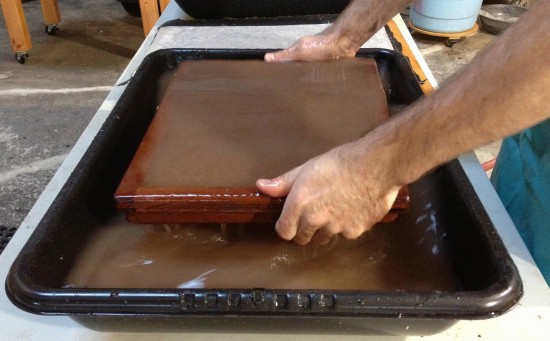
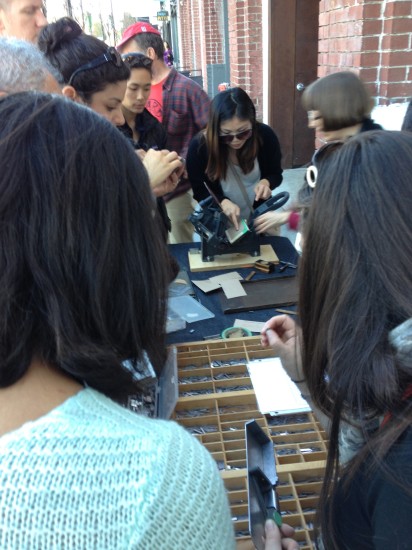
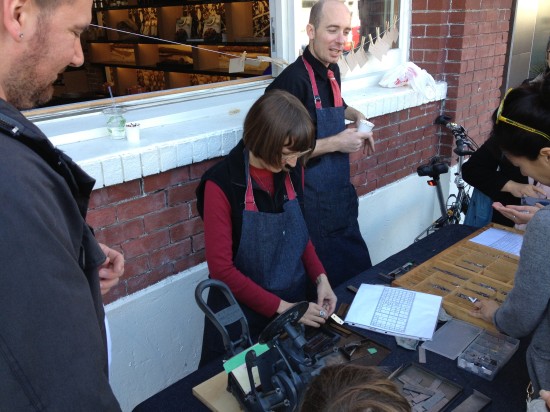
A mould and deckle is used to form the sheets. The mould and deckle is dipped into the vat at an angle and pulled straight up. A couple front-back/side-side shakes evenly settles the fibers as the water drains.

Cacao.Pulp.5
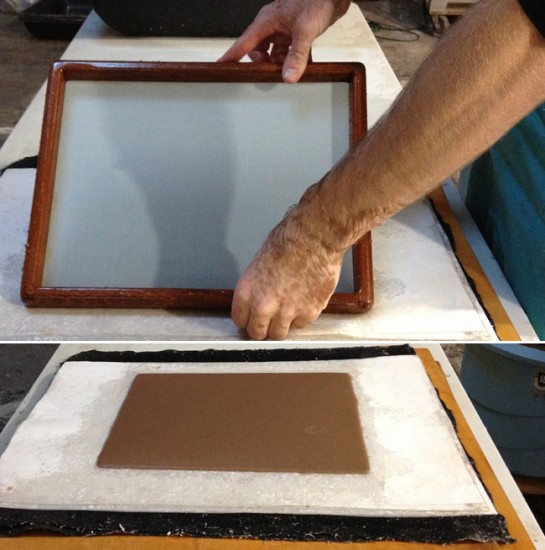
The deckle is removed and the mould is lined up so the new sheet will lie directly on top of the one below, separated by a piece of interfacing. Even pressure is put on the mould to get the sheet to release. The mould is peeled back leaving the newly formed sheet behind.

Cacao.Pulp.6
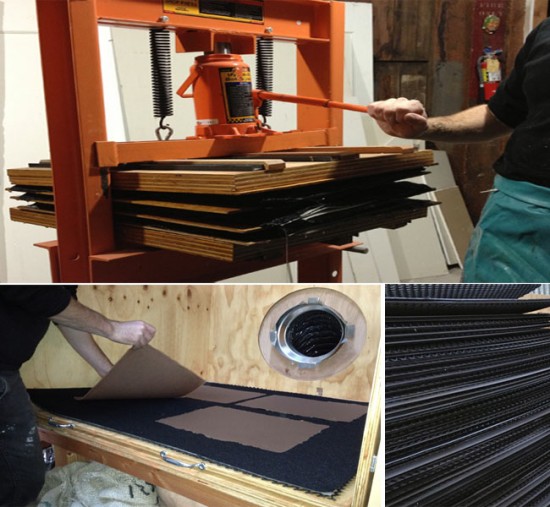
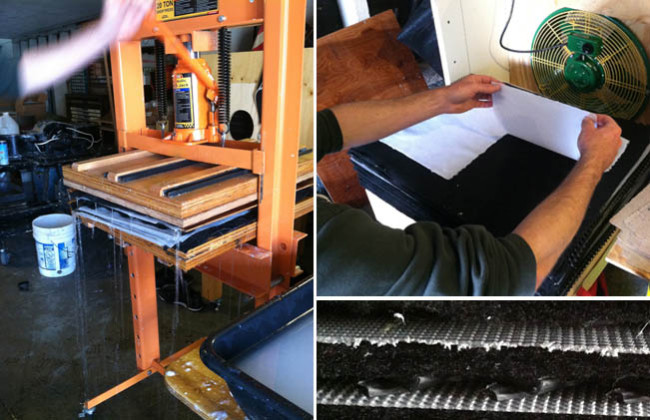
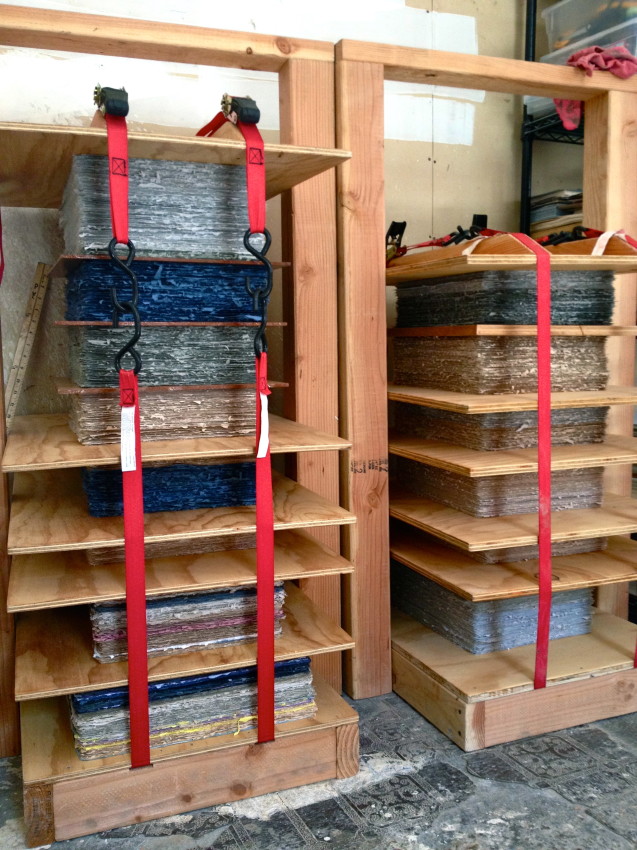
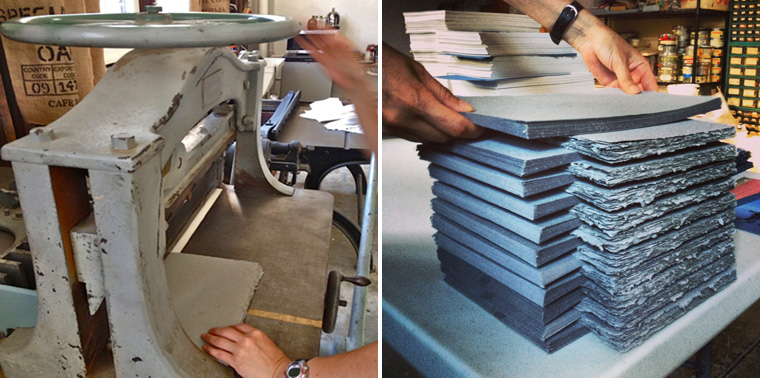
Top: the stack of formed sheets (called a post) is put in a hydraulic press to remove the excess water.

Pressed sheets are carefully placed into a drying box which consists of  layers separated by a channeling system where the air can pass through (bottom right). The blower is set to pull air from the open side.  The top is held down with weights so the paper can dry under pressure, creating perfectly flat sheets.

It takes about 8-10 hours for the paper to completely dry.

Cacao.press

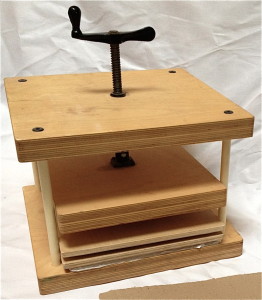
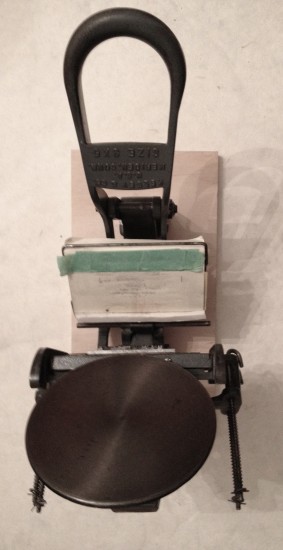
The final stage is to put the dried paper in a nipping press to cure.


Posted by: on January 20th, 2013

Iloveitwhen

Do you LOVE it when there’s paper, letterpress printing, and chocolate involved? If you answered yes, you’re in luck because Drew and I will be letterpress printing valentines on handmade paper in front of Dandelion chocolate.  We will be there from 12-5 on Thursday February 14, 2012 with the above phrase set in metal type.

stick and case

Participants get to use the gadget on top, called a composing stick, to spell out their response.  Individual letters are selected from the case shown above and placed into the stick. Don’t worry–we’ll provide a diagram of the case.  

smallpress

The set type will be printed on a 3×5 Kelsey letterpress onto paper we made from Dandelion’s cacao bean sacks.

It’s free, fun, and informative.

Don’t you love it?


Posted by: on February 1st, 2013

 I Love it 1

Our valentine printing event was a big hit! Over 70 people stopped by to make a valentine on our handmade paper; everyone walked away with a smile.

I Love it 2

We printed our logo on the back of all the valentines with our big letterpress. In the background you can see my hands locking up the chase to print a valentine.  Each person got to set their own valentine so that meant a lot of lock-ups.

I Love it 3

People gathered around the type case and selected letters one by one to place in the composing stick to spell out what they wanted to say.

I Love it 4

Look at all those typesetters waiting for their turn at the press.

I Love it 5

Drew is sipping a cup of European drinking chocolate while explaining the origins of the California job case.

I Love it 6

Some were sweet


I Love it 7

Some were specific


I Love it 8

Some had fun with the type


I Love it 9

Some made valentines for “Yon”


I Love it 10

And then there was this one. You might have to hold it up to a mirror to see what it says.

Thanks to everyone who made a valentine and thanks to Dandelion Chocolate for hosting us. 

Posted by: on March 5th, 2013

Rag

Cut up uniforms from all branches of the U.S. military, separated by color to maintain the color in the finished paper

Our first book edition is a Paper Doll book in collaboration with women veterans.  The women sent us stories told through a part or parts of their military uniform and these items were printed on paper made from military uniforms.  But first we had to make the paper.

IMG_1253

Contributor, Dottie Guy, works on deconstructing an Air Force uniform.

The first step in papermaking is to liberate the fiber. Many of the contributors donated their own uniforms to make the paper for the book. 

beater.Pulp

The cut up uniforms are put in a Hollander Beater along with water where they are broken down into a pulp.

This blue pulp came from a blend of Navy and U.S. Coast Guard uniforms.

Image 11

 Using a Mould and Deckle, the sheets are formed from the vat of pulp one at a time. In all, we needed over 6000 sheets for the book!

OKGo.pressing

The stack of newly formed sheets are pressed under hydraulic pressure to remove most of the water. The damp sheets are then transferred to a restraint drying system (top right) which has a fan that pulls air through the channels (bottom right).  It takes about a day to dry the paper.

Image 35 The dry sheets are put in a standing press to cure.  The ratchet straps apply pressure to the stacks of paper which keeps them flat while they cure. We cure our paper for one week to one year or longer.
   

Mati

This is Mati, one of the contibutors who lives in Oregon.  She spent two weeks with us helping make the book.

Mati.cutting

Left: Mati’s favorite task was cutting paper using our antique manual guillotine
Right: Mati’s neat stacks of cut paper are ready to be silkscreened.

Posted by: on October 28th, 2013