Fellow Spinners,

I’m reaching out to you with a request for support and help.

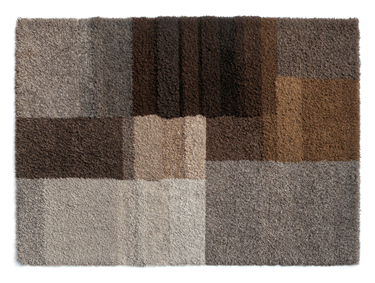
My 6’x7’ locker hooked rug was stolen from my apartment building on July 24, 2017. This rug was very special to me. I spun all the yarn—mostly on a drop spindle—and it took three years of daily work to complete.  I am devastated that it is gone and am trying to find a way to move forward from this loss. The story of my rug is below: 

I’m from California and about 12 years ago I moved to Australia to live with my then-boyfriend.  We took many trips to Tarndwarncoort, the Australian homestead where the Dennis family developed and maintains the country’s first breed of sheep (the Polwarth).  We were there for the shearing and as I admired all the beautiful naturally colored wool, Wendy Dennis would grab a handful and toss it to me saying: you should have this.  

When my boyfriend and I broke up, I returned to California with several bags of wool in the grease.  I didn’t have enough of any one shade to make a sweater or even a hat so I decided to put them all together into a large rug for the living room of my new San Francisco apartment.  I treated each handful of wool differently—some were combed, some carded, and some fulled.  I created 2, 3, and 4 ply yarns and spun some thick and some thin.  I even threw in a cabled yarn or two.  In the end I grouped all the colors together into large blocks which were meant to look like an aerial view of the California central valley, symbolic of my return to California.  Since each yarn employed a different technique you were able to pick out the individual sheep among the flock—a theme I was exploring at the time: how to maintain your individuality while being part of something bigger.  

Making that rug helped get me through a very difficult period and I was really proud of the finished piece.  To have it stolen is heartbreaking. The empty space on my living room floor is painful to look at and I know I need to put
down another rug but I don’t have it in me to start over from scratch, so I’ve come up with a new project which, in light of everything, feels right.

I’m asking fellow handspinners for donations of skeins of naturally colored handspun wool.  I will compile the submissions into a new design and make a rug that will tell a different story.

 Here’s what I am looking for:

•natural colors only please—no white
any thickness, number of plies
any amount
sheep wool preferable but I’ll accept other wools

 I am anxious to get started on designing and working on this project so am hoping to get donations by Nov. 1, 2017 (please let me know if you plan to submit after Nov 1). Please include your name which I will embroider onto the binding tape. I will post progress photos on my web page if you’d like to follow along (http://shotwellpapermill.com/rug/). And I would be grateful if you would forward this to anyone who might be interested in contributing. 

Thank you for reading this request, and thanks in advance for any donation that you are willing to contribute, 

Pam DeLuco
Shotwell Paper Mill
305 Shotwell St.
San Francisco, CA 94110

Posted by: on August 1st, 2017

IMG_1346

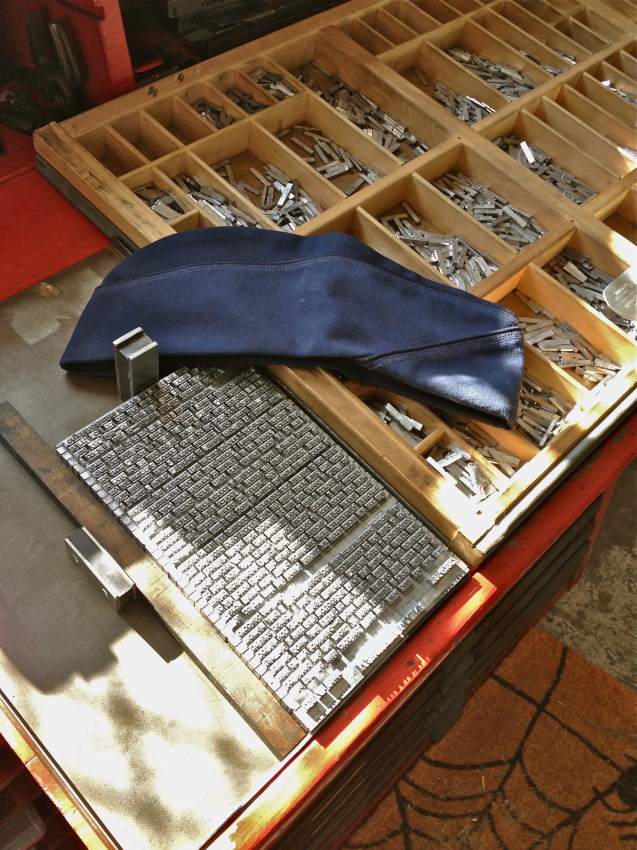
Typesetting uses individual letters and spacing made of lead to construct the paragraphs which are then printed with a letterpress. The inked letters press into the paper leaving the printed image behind. This method is full of rich tradition and craft.

IMG_1399

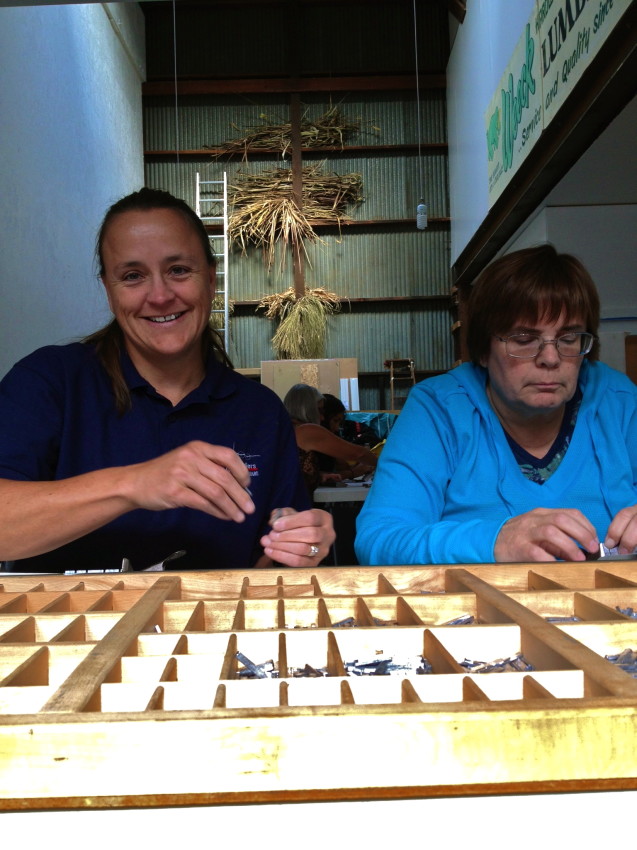
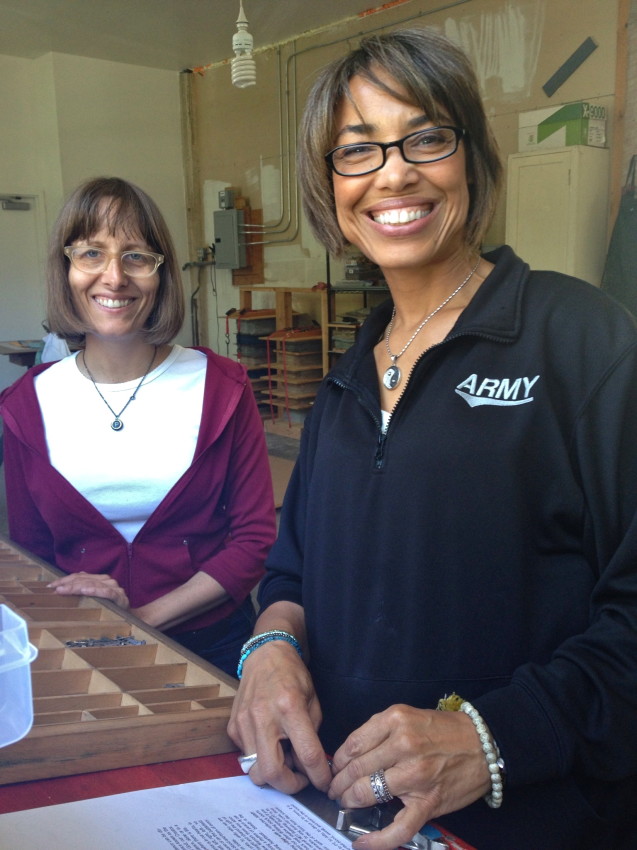
More than half of the authors came and set their own type. None had done it before so they needed to use a diagram to find the letters. 

Image

photo courtesy Dottie Guy

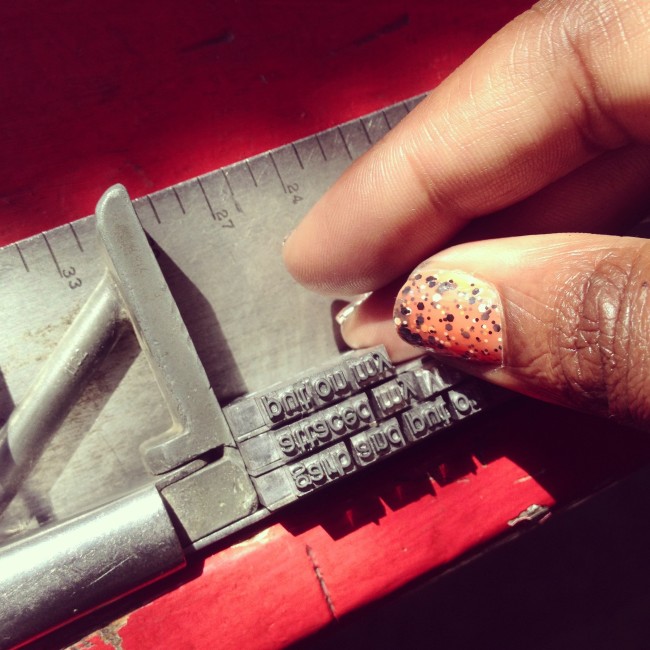
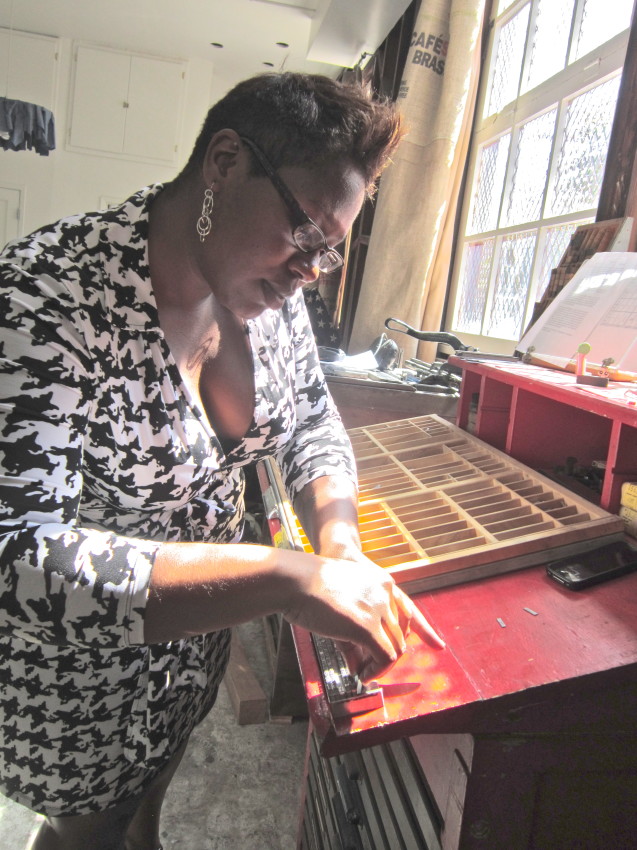
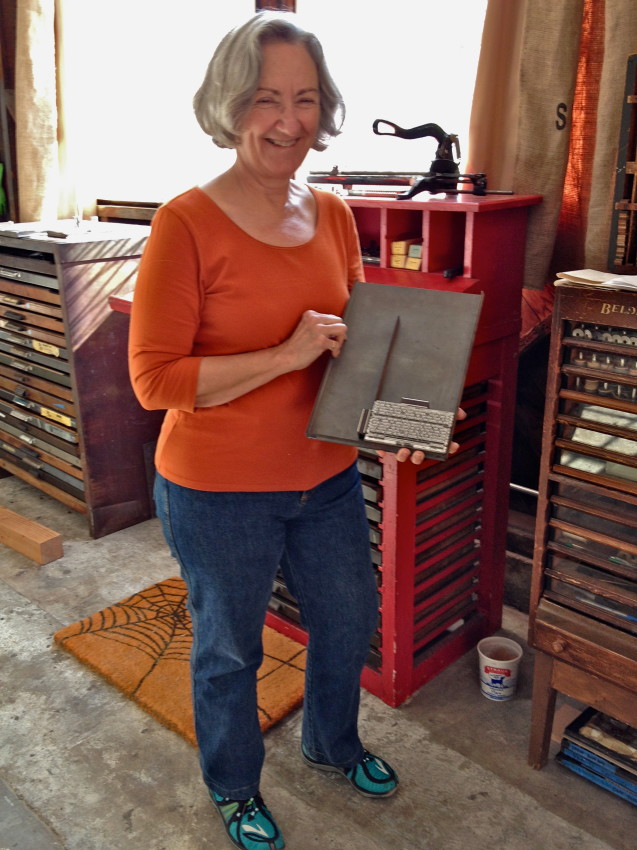
 The letters are placed in the composing stick (shown) upside down and backwards.  Definitely a tedious task.

Image 27

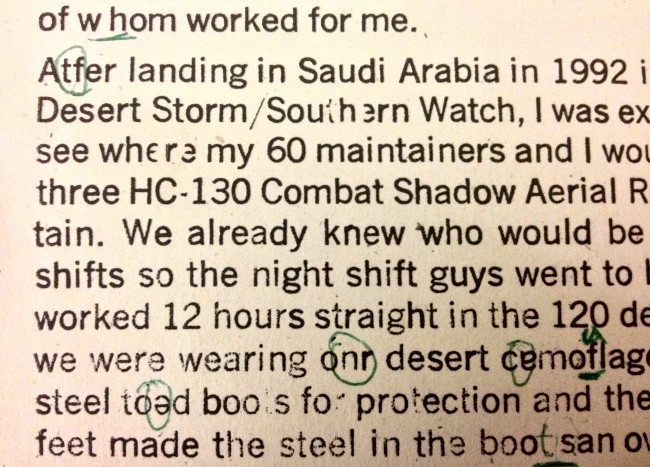
Careful proofing is needed as letters, spacing, even entire sentences can find themselves way out of place.

Image 28

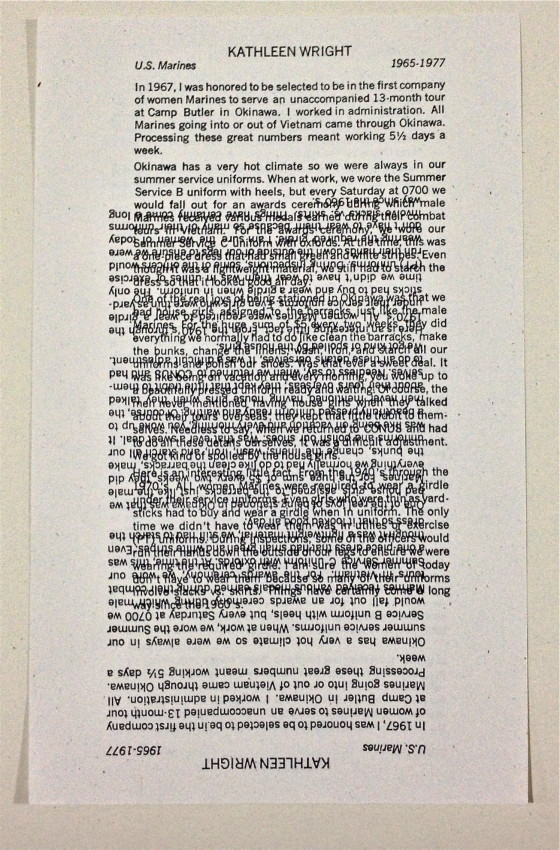
Intricacies and finesse are needed for just the right amount of impression, ink, margin and correct placement. 

Image 18

Riza and Habib were our typesetters from Diablo Valley Community College. They came every week to set type.

Image 3

Margarita’s (U.S. Air Force) story ready to be printed, along with the item of her Air Force uniform that inspired her story.

IMG_0832

Dottie (U.S. Army) working through her story. She set her whole story in about five hours. Way to go Dottie!

Image 12

Jo (U.S. Air Force) and Luana (U.S. Army) came for several days all the way from Nevada!

Image 21

Pam and Michele (U.S. Army) collaborating.

IMG_1243

Susanne (U.S. Air Force) proudly displaying her completed page. She was our first typesetter.

Image 5

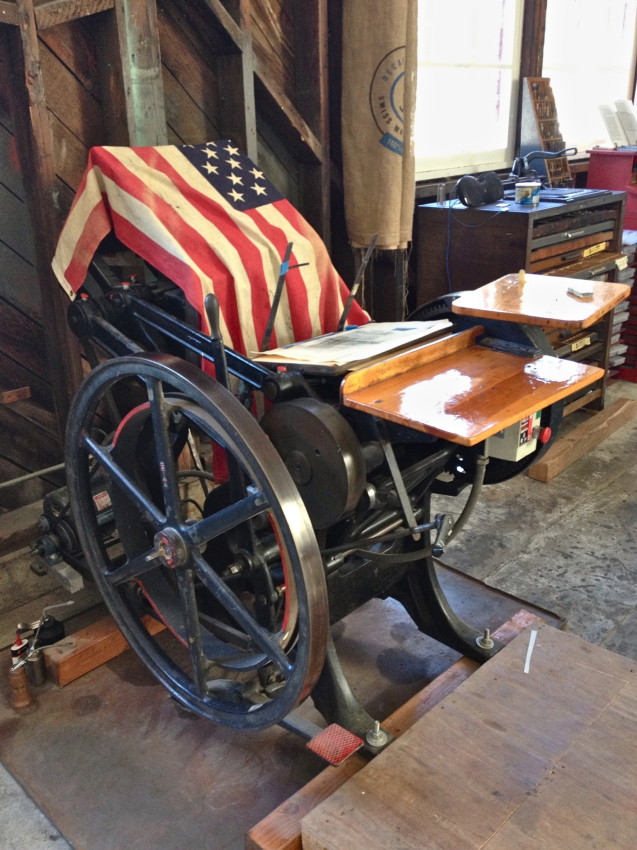
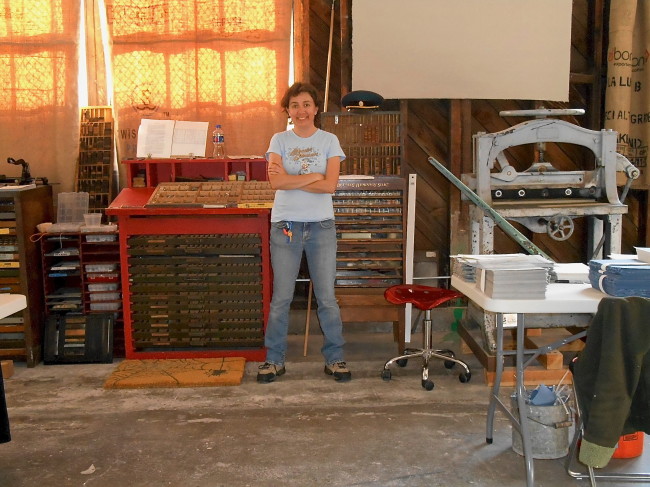
This is our letterpress. A 10 x 15 hand-fed Kluge.
Printing

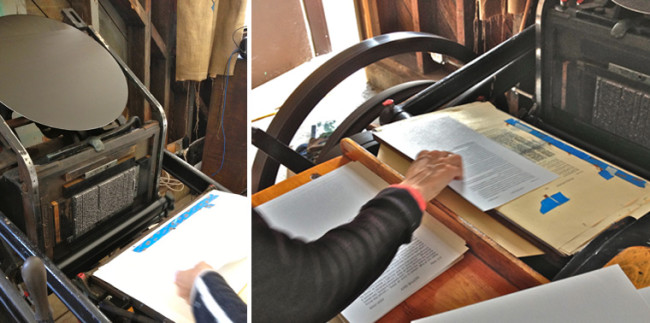
Left: the ink is on the disk.  The rollers pick it up and then pass over the type which then presses into the paper.
Right: Pam hand-feeds the press. Over 6500 pages were printed one-by-one for the book.
Posted by: on October 30th, 2013

IMG_1419

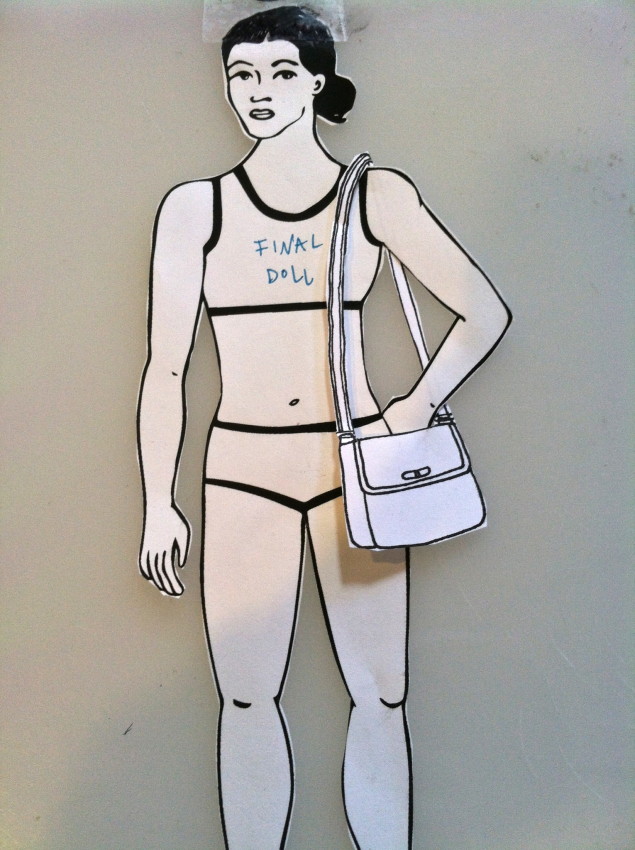
San Francisco illustrator Annemaree Rea crafted all the illustrations by hand–the old way, using pen and paper.  The doll went through many revisions before we settled on the one shown. Her body type and ethnicity is meant to be somewhat ‘neutral’–this was quite difficult to achieve in a simple line drawing.

The women sent in photos of their uniform for Annemaree to draw. Everything was tried on the doll to ensure a proper fit.


IMG_1350

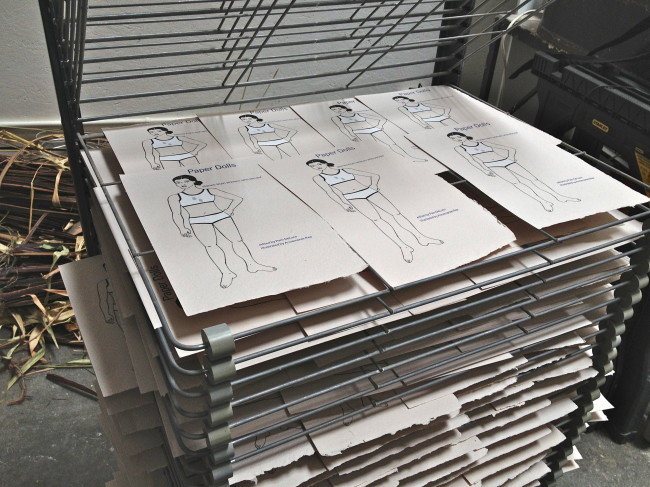
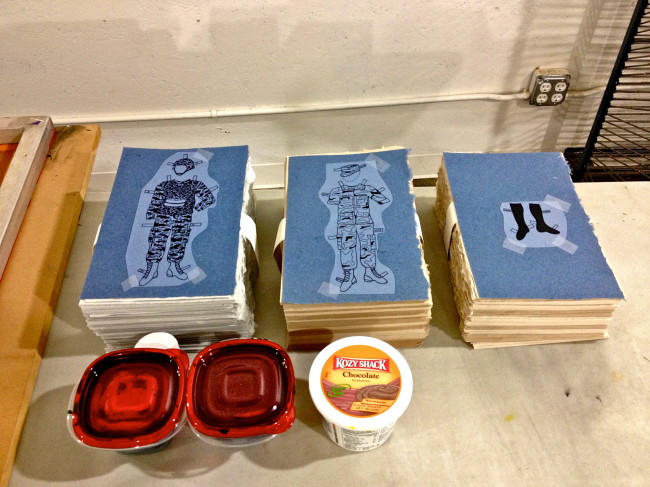
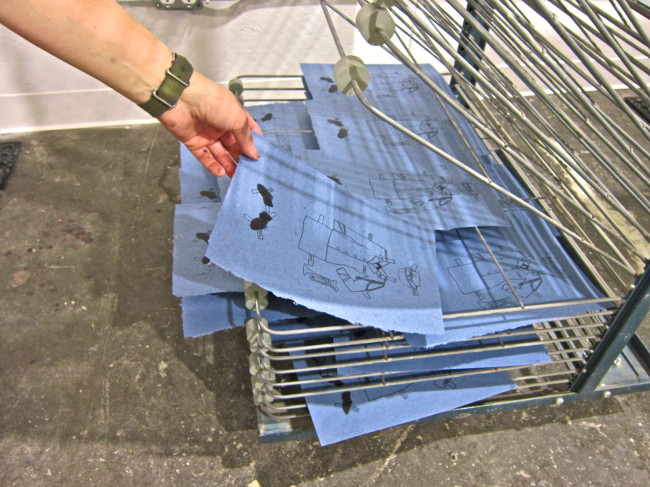
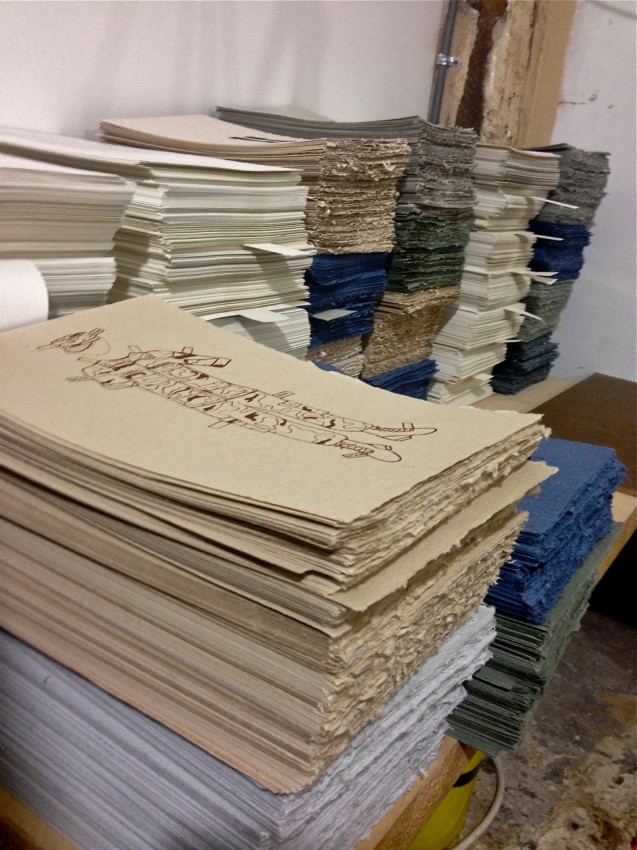
Screen printed covers stacked to dry. The cover had a total of four print runs–three silkscreen and one letterpress.

Image 9

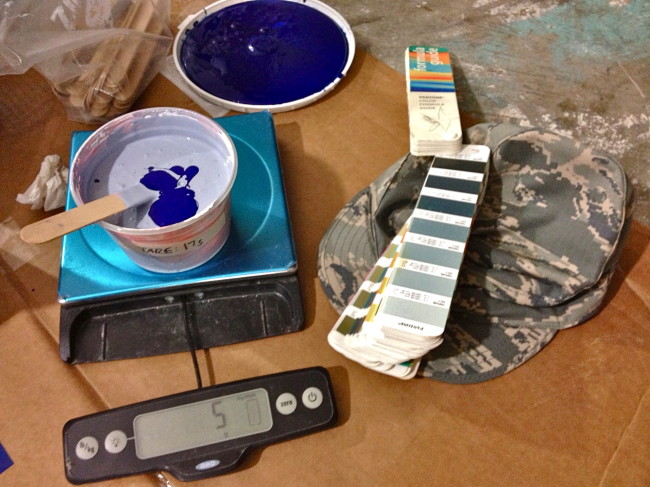
Mixing our inks with a Pantone chart allowed us to closely match the camouflage on the military uniforms. 


IMG_1452

The various illustrations of the stories were oriented for placement before printing.

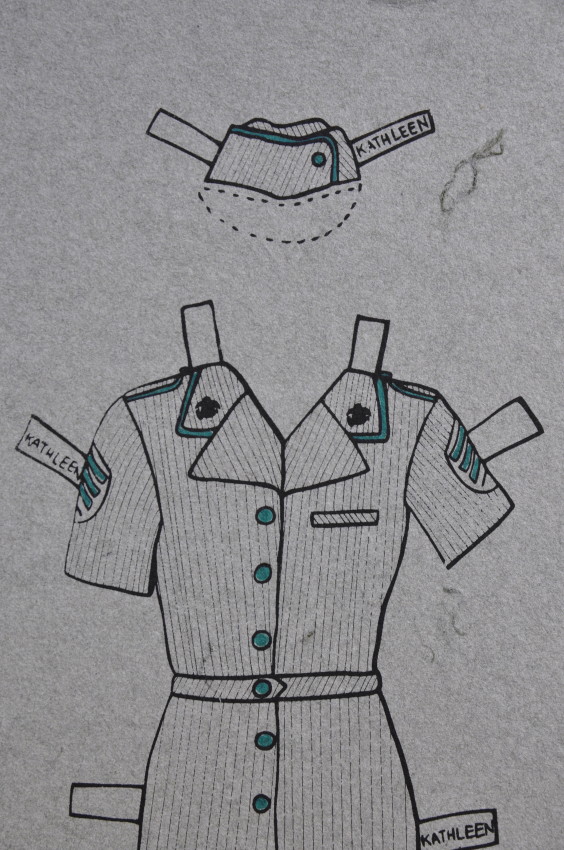
Kathleen Detail

This uniform had incredible detail in the pin stripes which made exposing the screen difficult.

Image 26

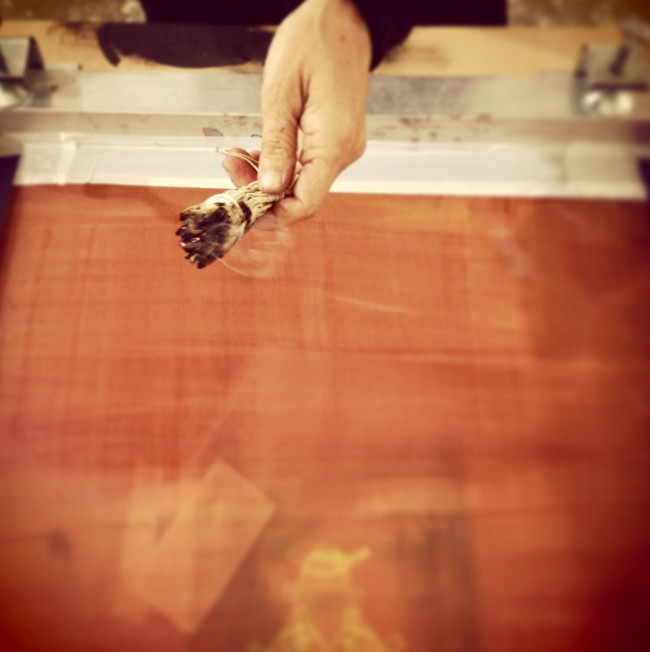
Some creative methods were employed to assist a proper exposure needed to pick up all of the tiny details.

IMG_0822

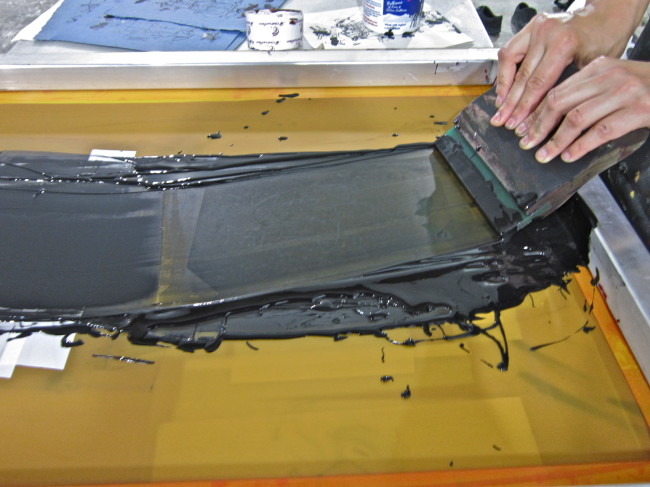
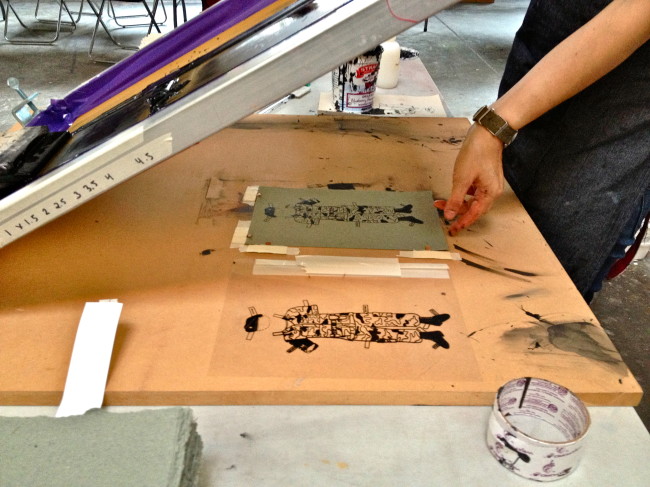
Expert printer, Defne Beyce, uses a squeegee to force ink through an exposed silkscreen, rendering the images one at a time.

IMG_1448

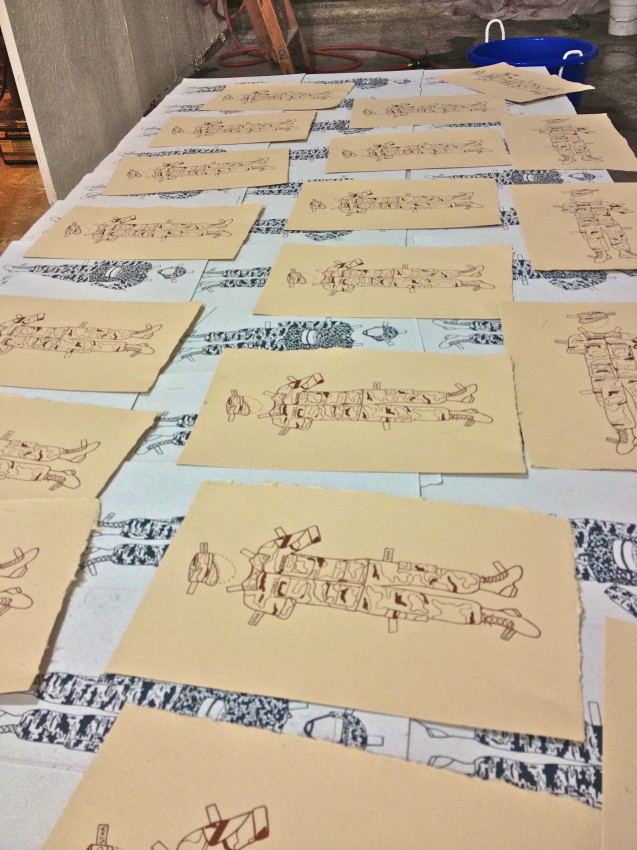
Every color of paper and image of a uniform was closely matched to represent each as accurately as possible.

IMG_0824

Everything from Blue Dress uniforms…  

IMG_1455

…to Desert Camouflage and Airman Battle Uniforms were printed.

IMG_1501

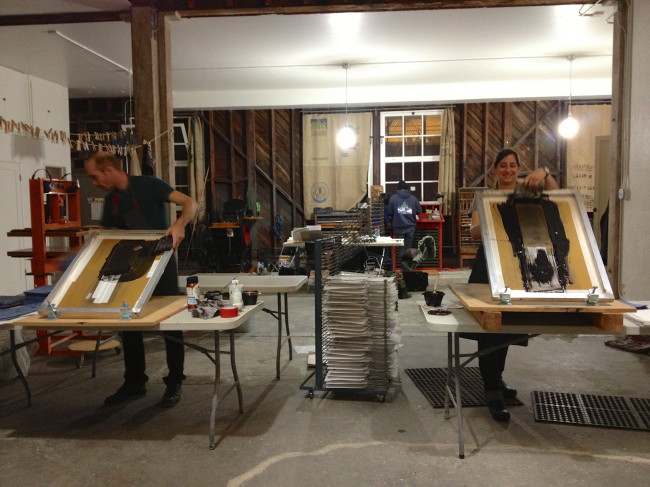
Drew and Defne working late into the evening–or is it almost morning?  

Image 23

Twenty separate uniforms were printed to illuminate these veteran’s stories.

Image 1

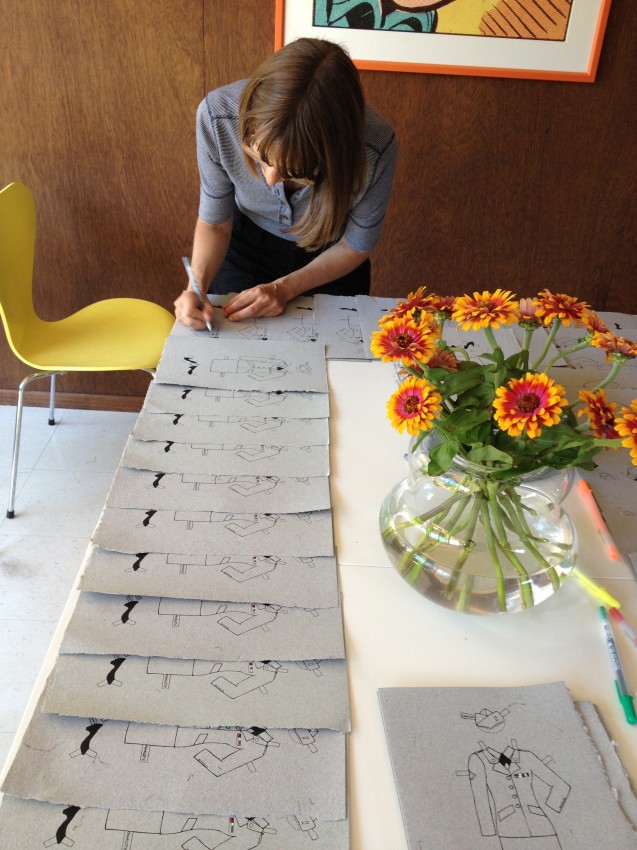
Subtleties like rank insignia and award ribbons were hand detailed.

Gail

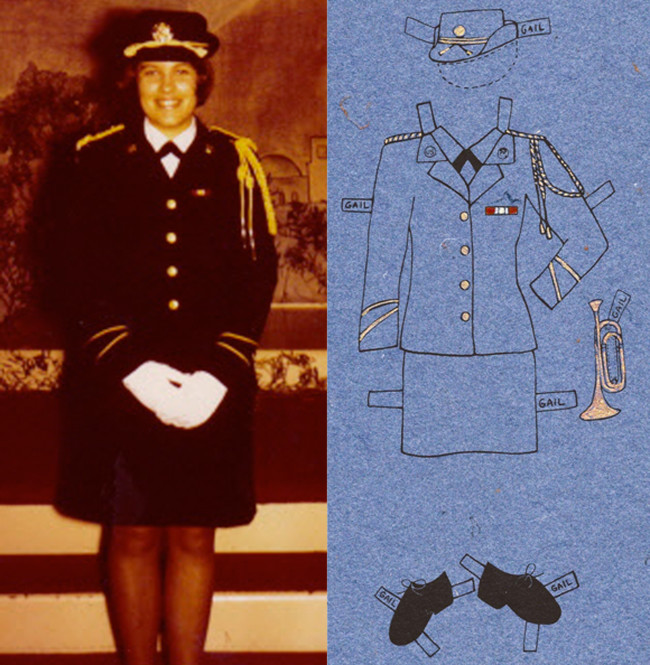
A completed image of Gail shown next to the photo she sent us.

Posted by: on October 29th, 2013

Rag

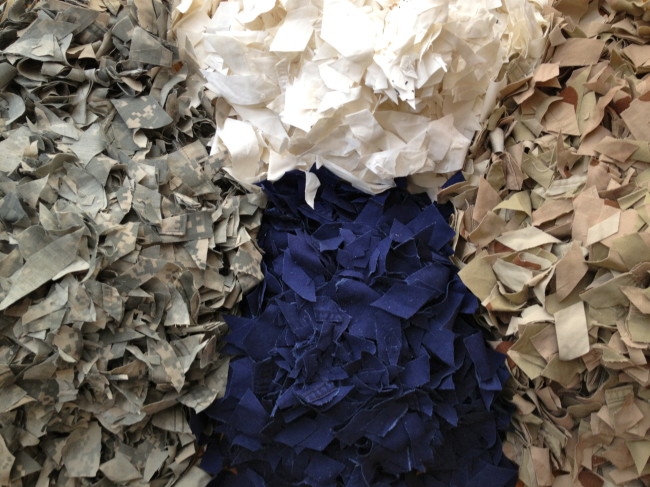
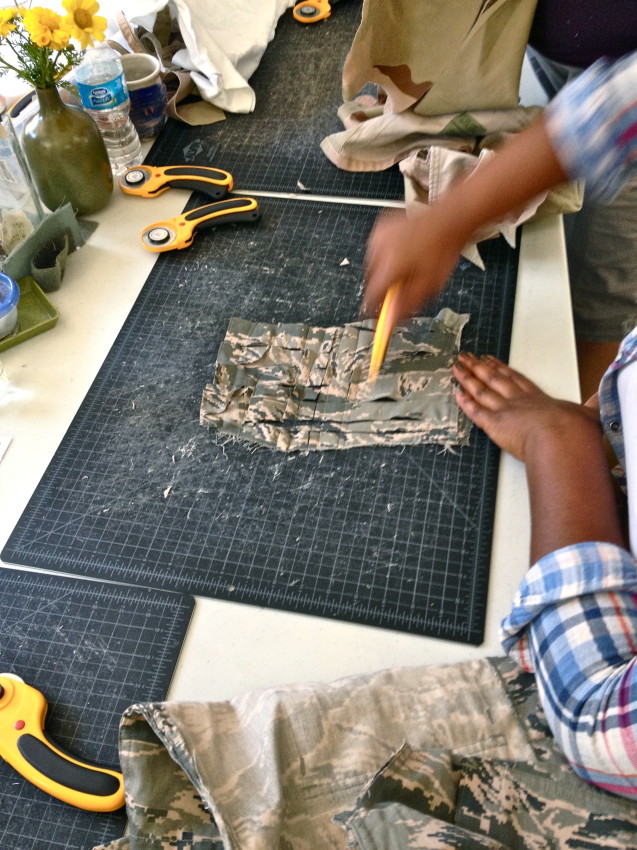
Cut up uniforms from all branches of the U.S. military, separated by color to maintain the color in the finished paper

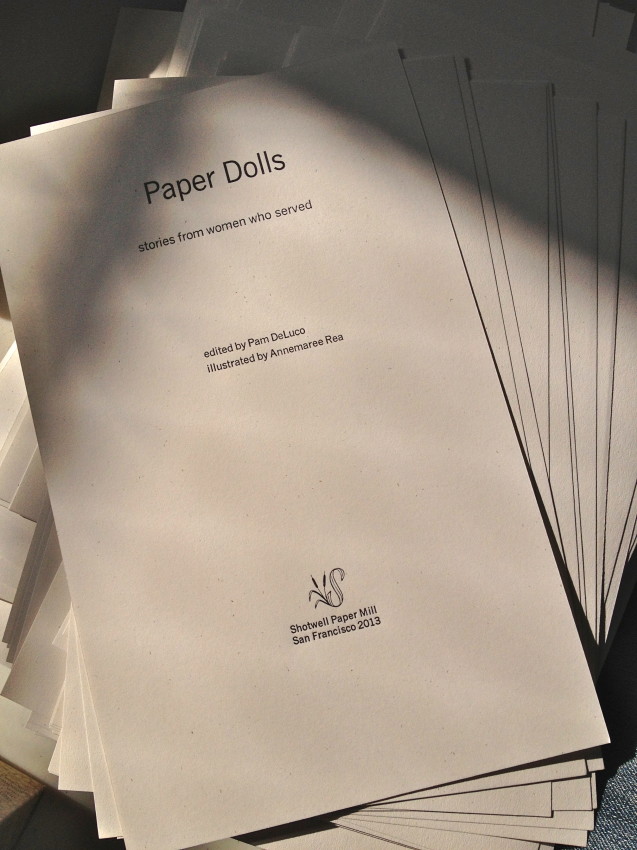
Our first book edition is a Paper Doll book in collaboration with women veterans.  The women sent us stories told through a part or parts of their military uniform and these items were printed on paper made from military uniforms.  But first we had to make the paper.

IMG_1253

Contributor, Dottie Guy, works on deconstructing an Air Force uniform.

The first step in papermaking is to liberate the fiber. Many of the contributors donated their own uniforms to make the paper for the book. 

beater.Pulp

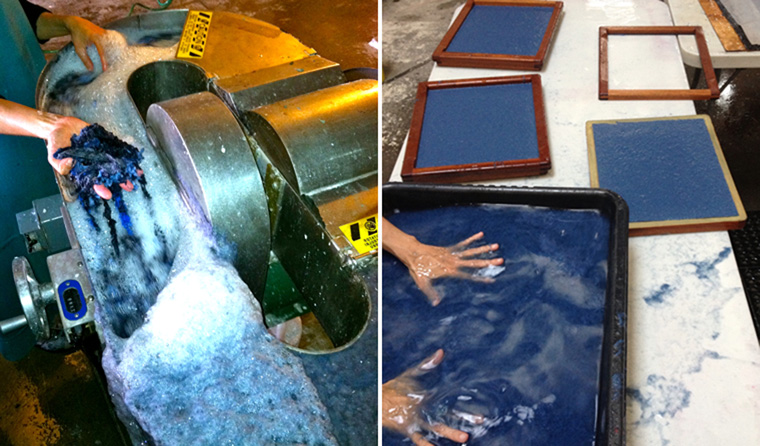
The cut up uniforms are put in a Hollander Beater along with water where they are broken down into a pulp.

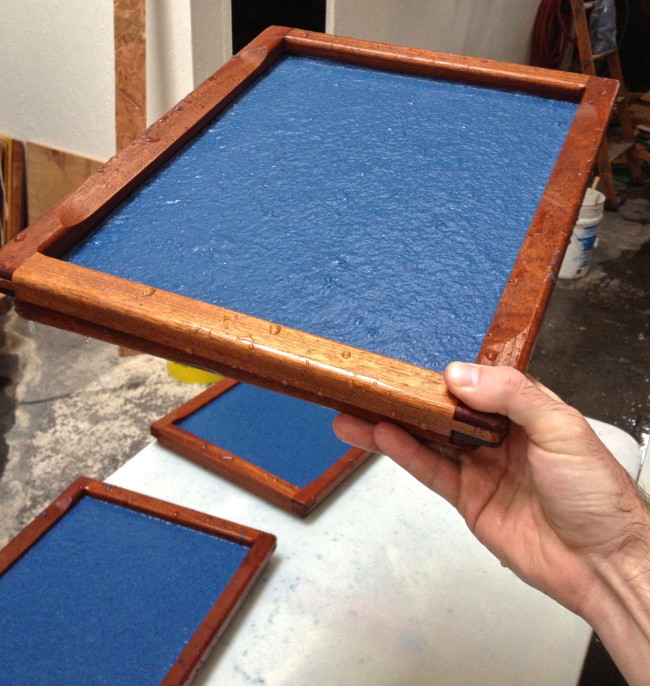
This blue pulp came from a blend of Navy and U.S. Coast Guard uniforms.

Image 11

 Using a Mould and Deckle, the sheets are formed from the vat of pulp one at a time. In all, we needed over 6000 sheets for the book!

OKGo.pressing

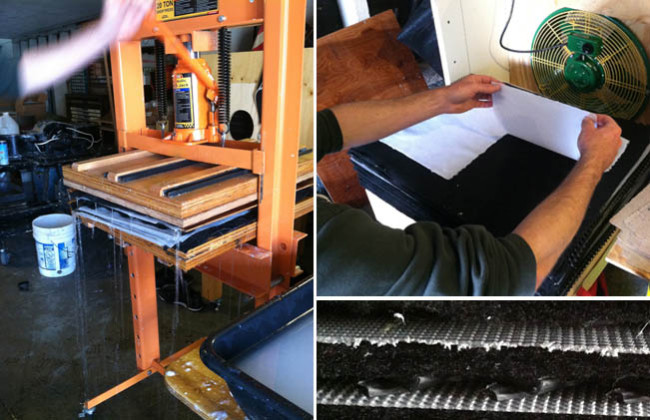
The stack of newly formed sheets are pressed under hydraulic pressure to remove most of the water. The damp sheets are then transferred to a restraint drying system (top right) which has a fan that pulls air through the channels (bottom right).  It takes about a day to dry the paper.

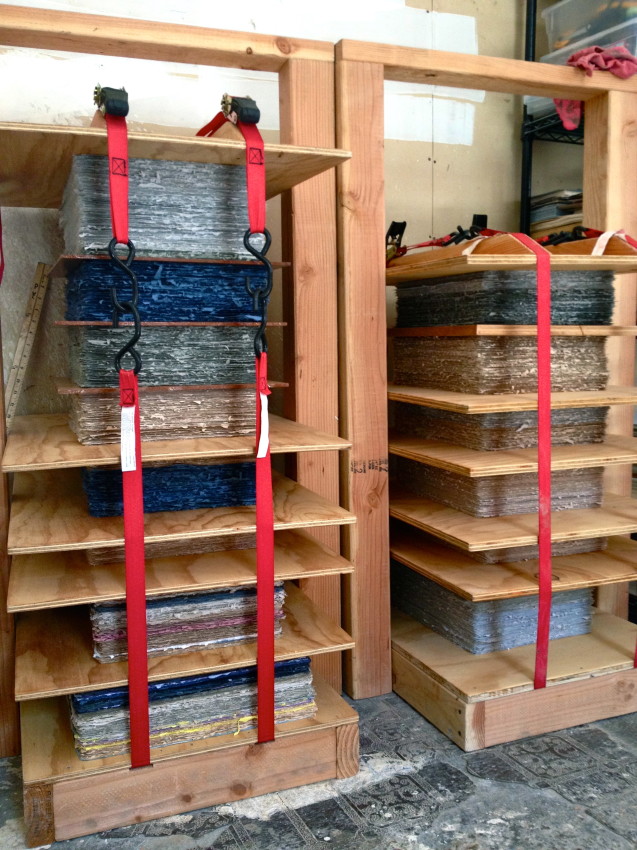
Image 35 The dry sheets are put in a standing press to cure.  The ratchet straps apply pressure to the stacks of paper which keeps them flat while they cure. We cure our paper for one week to one year or longer.
   

Mati

This is Mati, one of the contibutors who lives in Oregon.  She spent two weeks with us helping make the book.

Mati.cutting

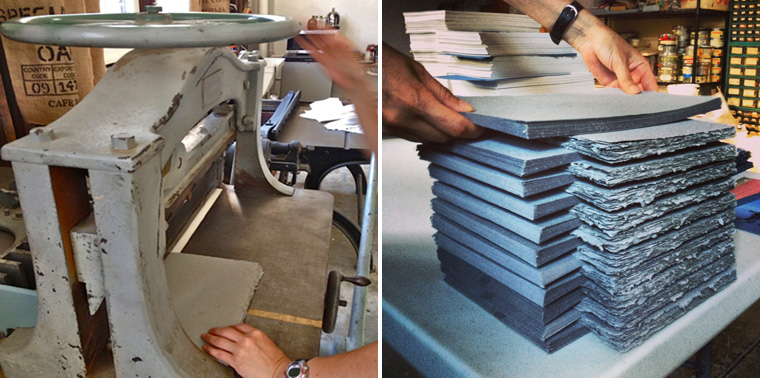
Left: Mati’s favorite task was cutting paper using our antique manual guillotine
Right: Mati’s neat stacks of cut paper are ready to be silkscreened.

Posted by: on October 28th, 2013

 I Love it 1

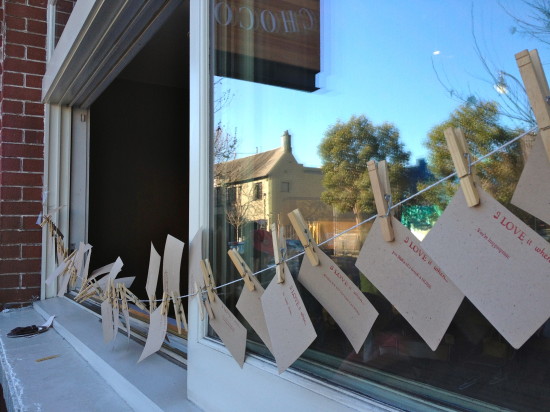
Our valentine printing event was a big hit! Over 70 people stopped by to make a valentine on our handmade paper; everyone walked away with a smile.

I Love it 2

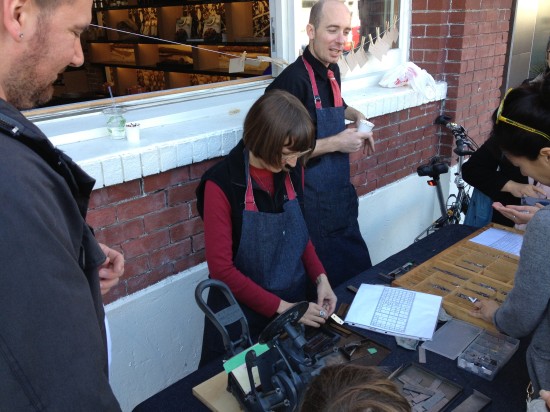
We printed our logo on the back of all the valentines with our big letterpress. In the background you can see my hands locking up the chase to print a valentine.  Each person got to set their own valentine so that meant a lot of lock-ups.

I Love it 3

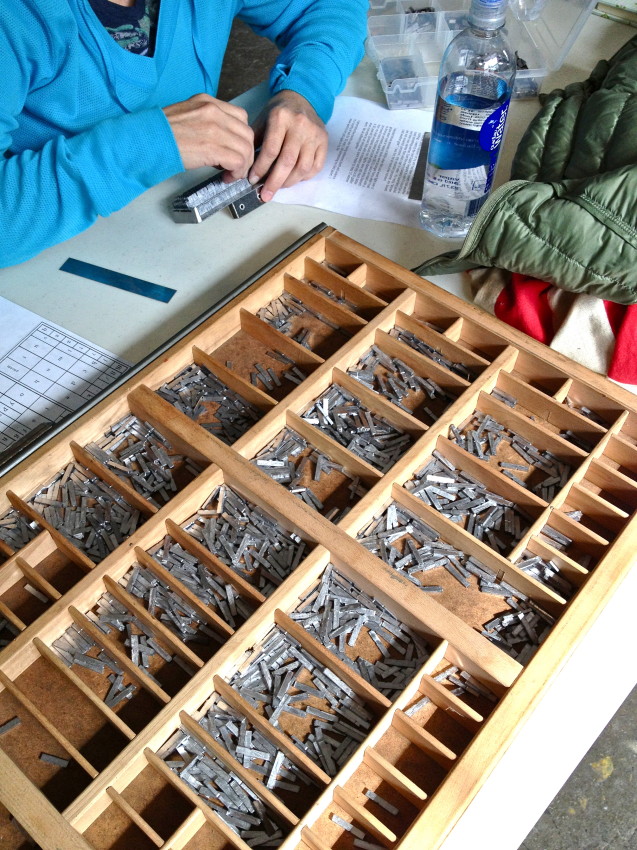
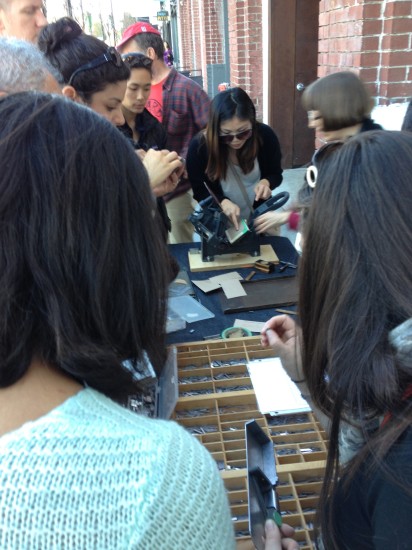
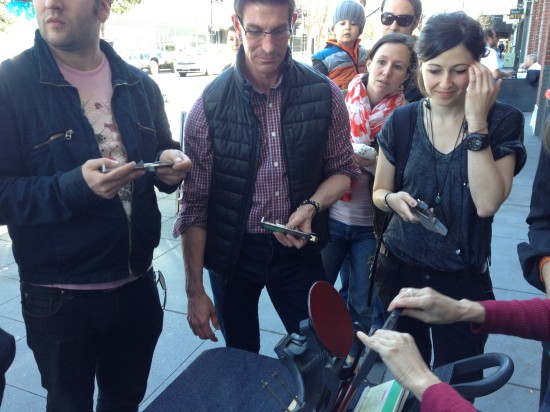
People gathered around the type case and selected letters one by one to place in the composing stick to spell out what they wanted to say.

I Love it 4

Look at all those typesetters waiting for their turn at the press.

I Love it 5

Drew is sipping a cup of European drinking chocolate while explaining the origins of the California job case.

I Love it 6

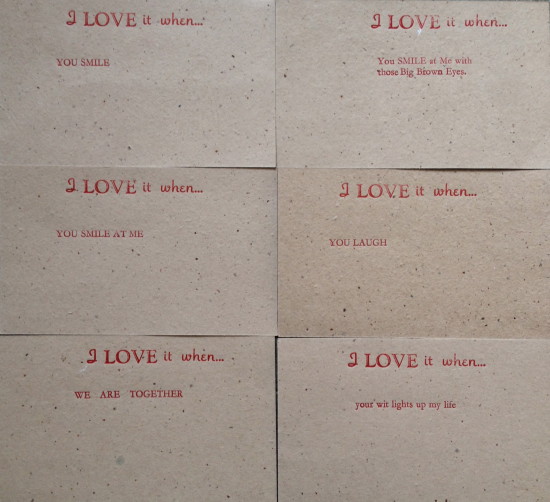
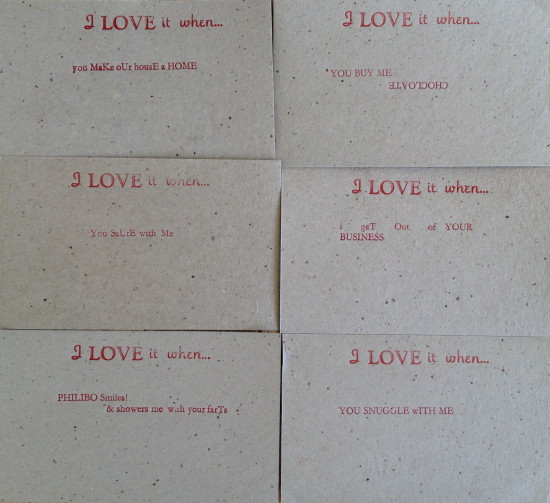
Some were sweet


I Love it 7

Some were specific


I Love it 8

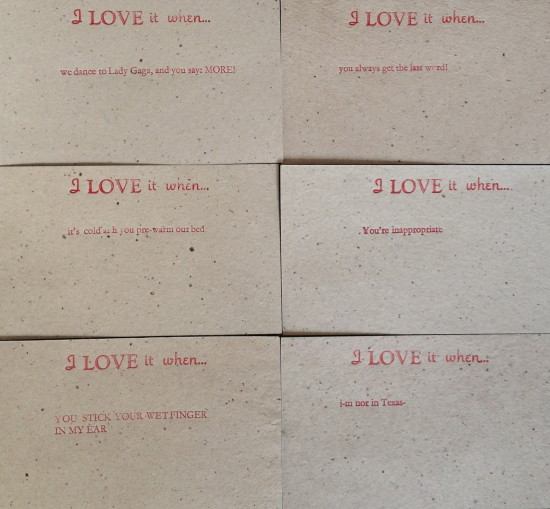
Some had fun with the type


I Love it 9

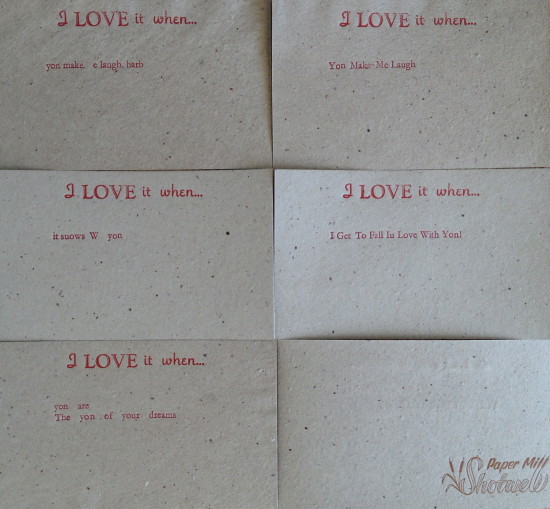
Some made valentines for “Yon”


I Love it 10

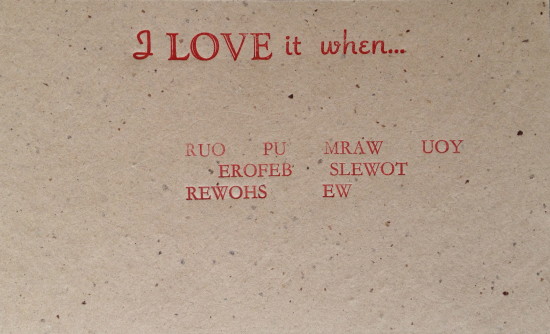
And then there was this one. You might have to hold it up to a mirror to see what it says.

Thanks to everyone who made a valentine and thanks to Dandelion Chocolate for hosting us. 

Posted by: on March 5th, 2013

Iloveitwhen

Do you LOVE it when there’s paper, letterpress printing, and chocolate involved? If you answered yes, you’re in luck because Drew and I will be letterpress printing valentines on handmade paper in front of Dandelion chocolate.  We will be there from 12-5 on Thursday February 14, 2012 with the above phrase set in metal type.

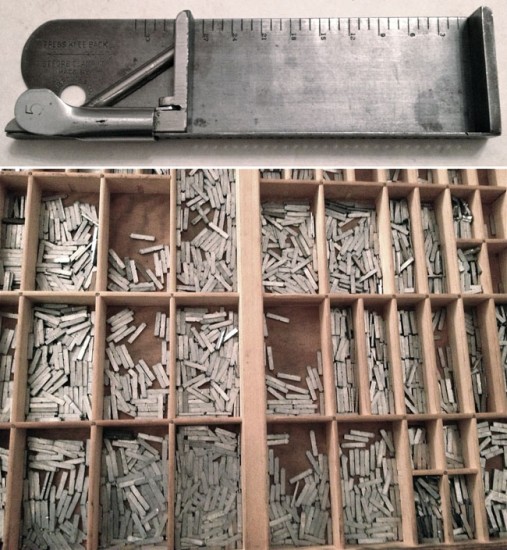
stick and case

Participants get to use the gadget on top, called a composing stick, to spell out their response.  Individual letters are selected from the case shown above and placed into the stick. Don’t worry–we’ll provide a diagram of the case.  

smallpress

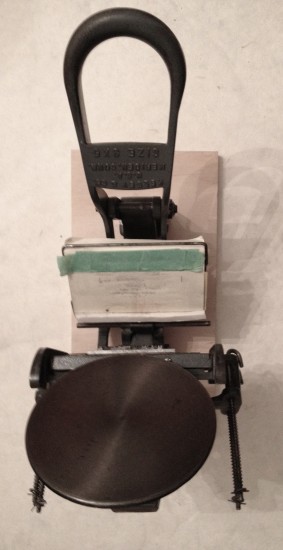
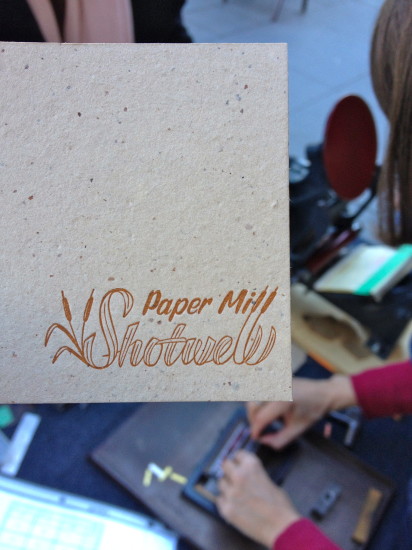
The set type will be printed on a 3×5 Kelsey letterpress onto paper we made from Dandelion’s cacao bean sacks.

It’s free, fun, and informative.

Don’t you love it?


Posted by: on February 1st, 2013

CacaoBeanPaper

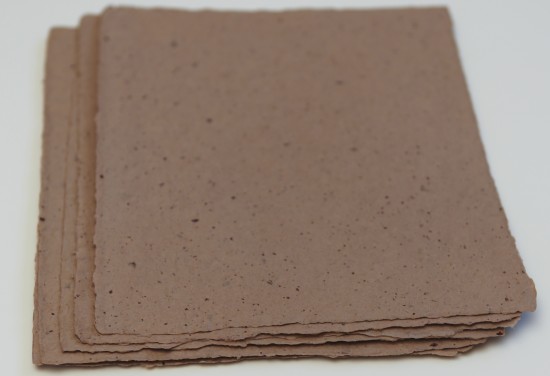
Jute paper from cacao sacks. The flecks are bits of cacao husks added when processing the paper pulp

bikingwsacks

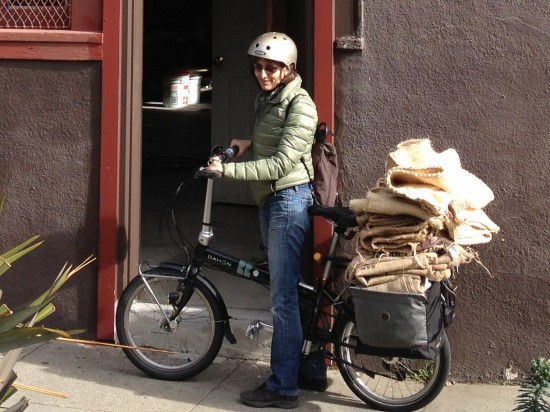
Pam returning to the studio with a bike load of jute sacks. They are heavier than they look!

Cacao beans are shipped in jute sacks. The sacks are not reusable to the chocolate maker but they can be repurposed into many things including paper. We are fortunate to have a bean-to-bar chocolate maker in our neighborhood and they provide us with a steady supply of sacks.


Cacao.Seams.Cutting
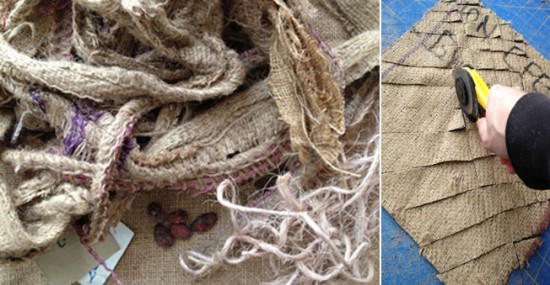
Left: the first step is to shake out all the cacao beans, remove the paper tags and twine, and cut out the seams. All these items can damage the beater.

Right: next step is to cut the sacks into small squares. Because cacao beans are fermented the sacks have a pungent odor. Alice at Dandelion thinks they smell like vinegar but I think they smell like feet.

CookingCacao

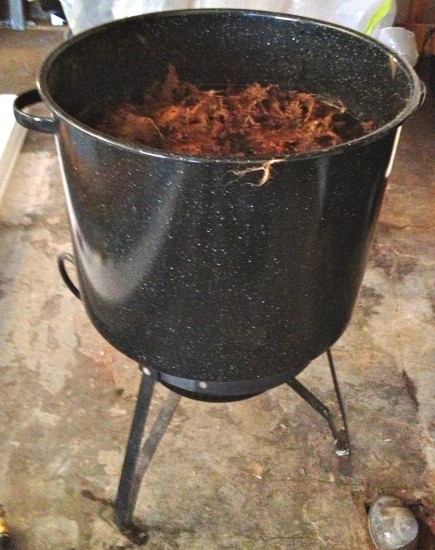
The sacks are made of jute fiber and contain a lot of lignins. Lignins are organic compounds found in the cell walls of many plants. They provide strength to the plant but weaken paper and therefore must be removed. 


Lignins dissolve in an alkaline solution and heat speeds up the process. Washing soda, soda ash, or lye are all acceptable choices. The fiber must simmer for 2-4 hours. 


The fiber pot starts out with a Ph of 10-11. As the fiber cooks the alkaline consumes the lignins and by the end of the cycle the Ph is closer to neutral.

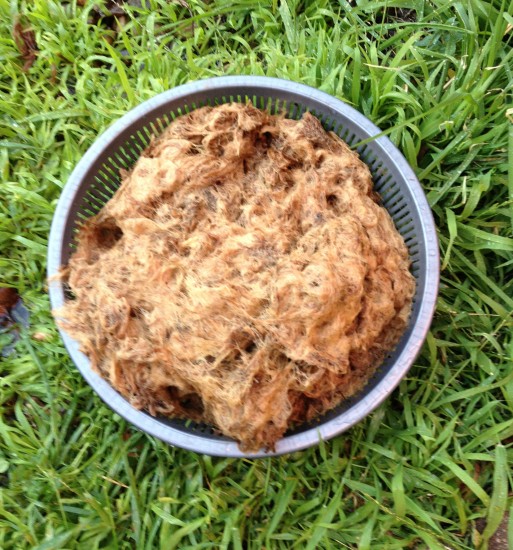
The plant beds outside our studio are the perfect place to rinse fiber. The rinse water is not wasted and our plants appreciate the attention.


rinsing.cacao


Cacao.Pulp,1
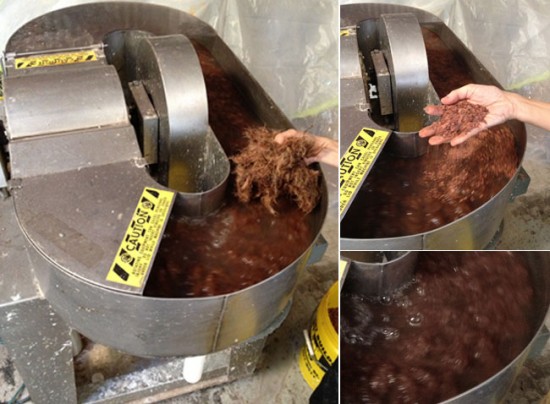
Left: the cooked fiber is put into a machine called a hollander beater. The beater has a paddle-wheel (called a roll) with a series of thin metal bars. Underneath the roll are more metal bars (called the bed plate). The roll and bed plate work together to beat the fiber into pulp.

Top right: a handful of cacao husks is added to the beater. This will add flecks to the finished paper and give it a more chocolaty look. The husks smell delicious!

Bottom right: the fiber beats down into pulp in about 20-30 minutes. 

Cacao.Pulp.2

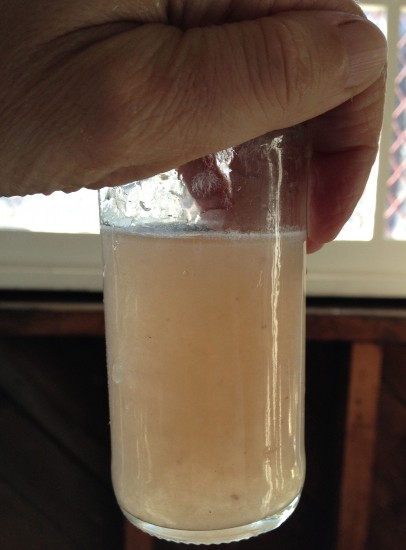
The final test is to put a bit of the pulp in a jar and add some water. Shaking the jar and holding it up to the light shows if there are any clumps or long fibers. The flecks you see are the bits of the cacao husk–the rest is the finely beaten jute.


At this point we can add sizing. Since we plan to use this paper for letterpress we are not going to size it. This is one advantage of being a papermaker–we can tailor the paper to specifically meet our needs.


Cacao.Pulp.3
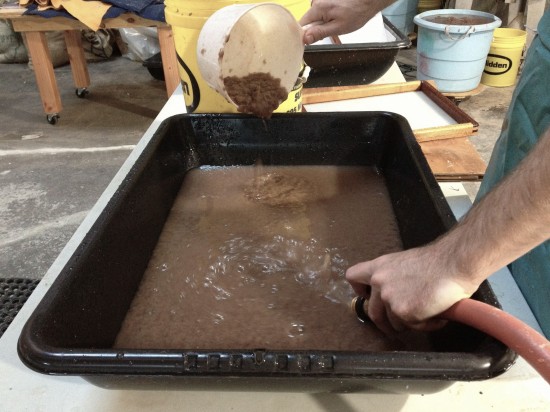
The pulp is poured into a vat and water is added to create a thick slurry. The density of the slurry is what determines the thickness of the sheets. We are aiming for card stock so we’ll want a fairly dense slurry.

Cacao.Pulp.4
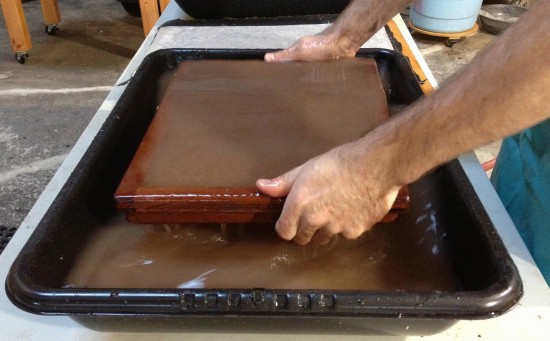
A mould and deckle is used to form the sheets. The mould and deckle is dipped into the vat at an angle and pulled straight up. A couple front-back/side-side shakes evenly settles the fibers as the water drains.

Cacao.Pulp.5
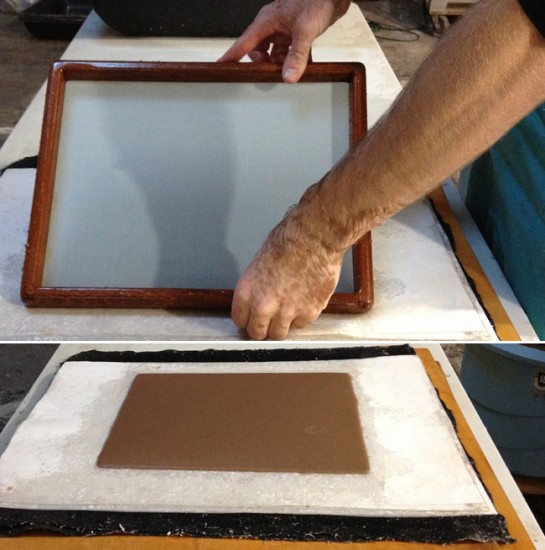
The deckle is removed and the mould is lined up so the new sheet will lie directly on top of the one below, separated by a piece of interfacing. Even pressure is put on the mould to get the sheet to release. The mould is peeled back leaving the newly formed sheet behind.

Cacao.Pulp.6
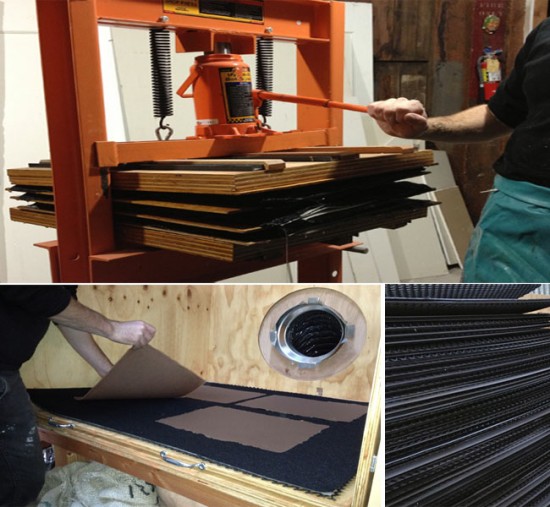
Top: the stack of formed sheets (called a post) is put in a hydraulic press to remove the excess water.

Pressed sheets are carefully placed into a drying box which consists of  layers separated by a channeling system where the air can pass through (bottom right). The blower is set to pull air from the open side.  The top is held down with weights so the paper can dry under pressure, creating perfectly flat sheets.

It takes about 8-10 hours for the paper to completely dry.

Cacao.press

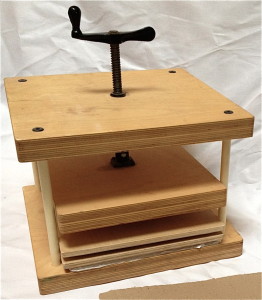
The final stage is to put the dried paper in a nipping press to cure.


Posted by: on January 20th, 2013